
Animating
Animations are sets of timelines, one per animated property: bone rotation, translation, scale and shear, slot colour and attachment, constraint values, mesh and path deforms, sequence frames, particles, draw order, events and sounds. Each animation has its own length, colour and an Export switch that decides whether it ships.
Create an animation and set keys
Section titled “Create an animation and set keys”- In the left panel’s Animations list press +, and name it (
walk,idle,attack). - Switch to Animate mode (`). The viewport’s status line shows the animation and the time.
- Make sure ● Rec is on, move the playhead, and pose bones in the viewport: each change becomes a key. In the Inspector, the ◆ next to a property keys just that property.
- Press Space to play. Keys past the end extend the animation; Length sets it exactly.
The dopesheet
Section titled “The dopesheet”The dopesheet lists the animated bones, slots and constraints with their keys. Events and sounds have their own lanes at the top, with the waveform of each sound.
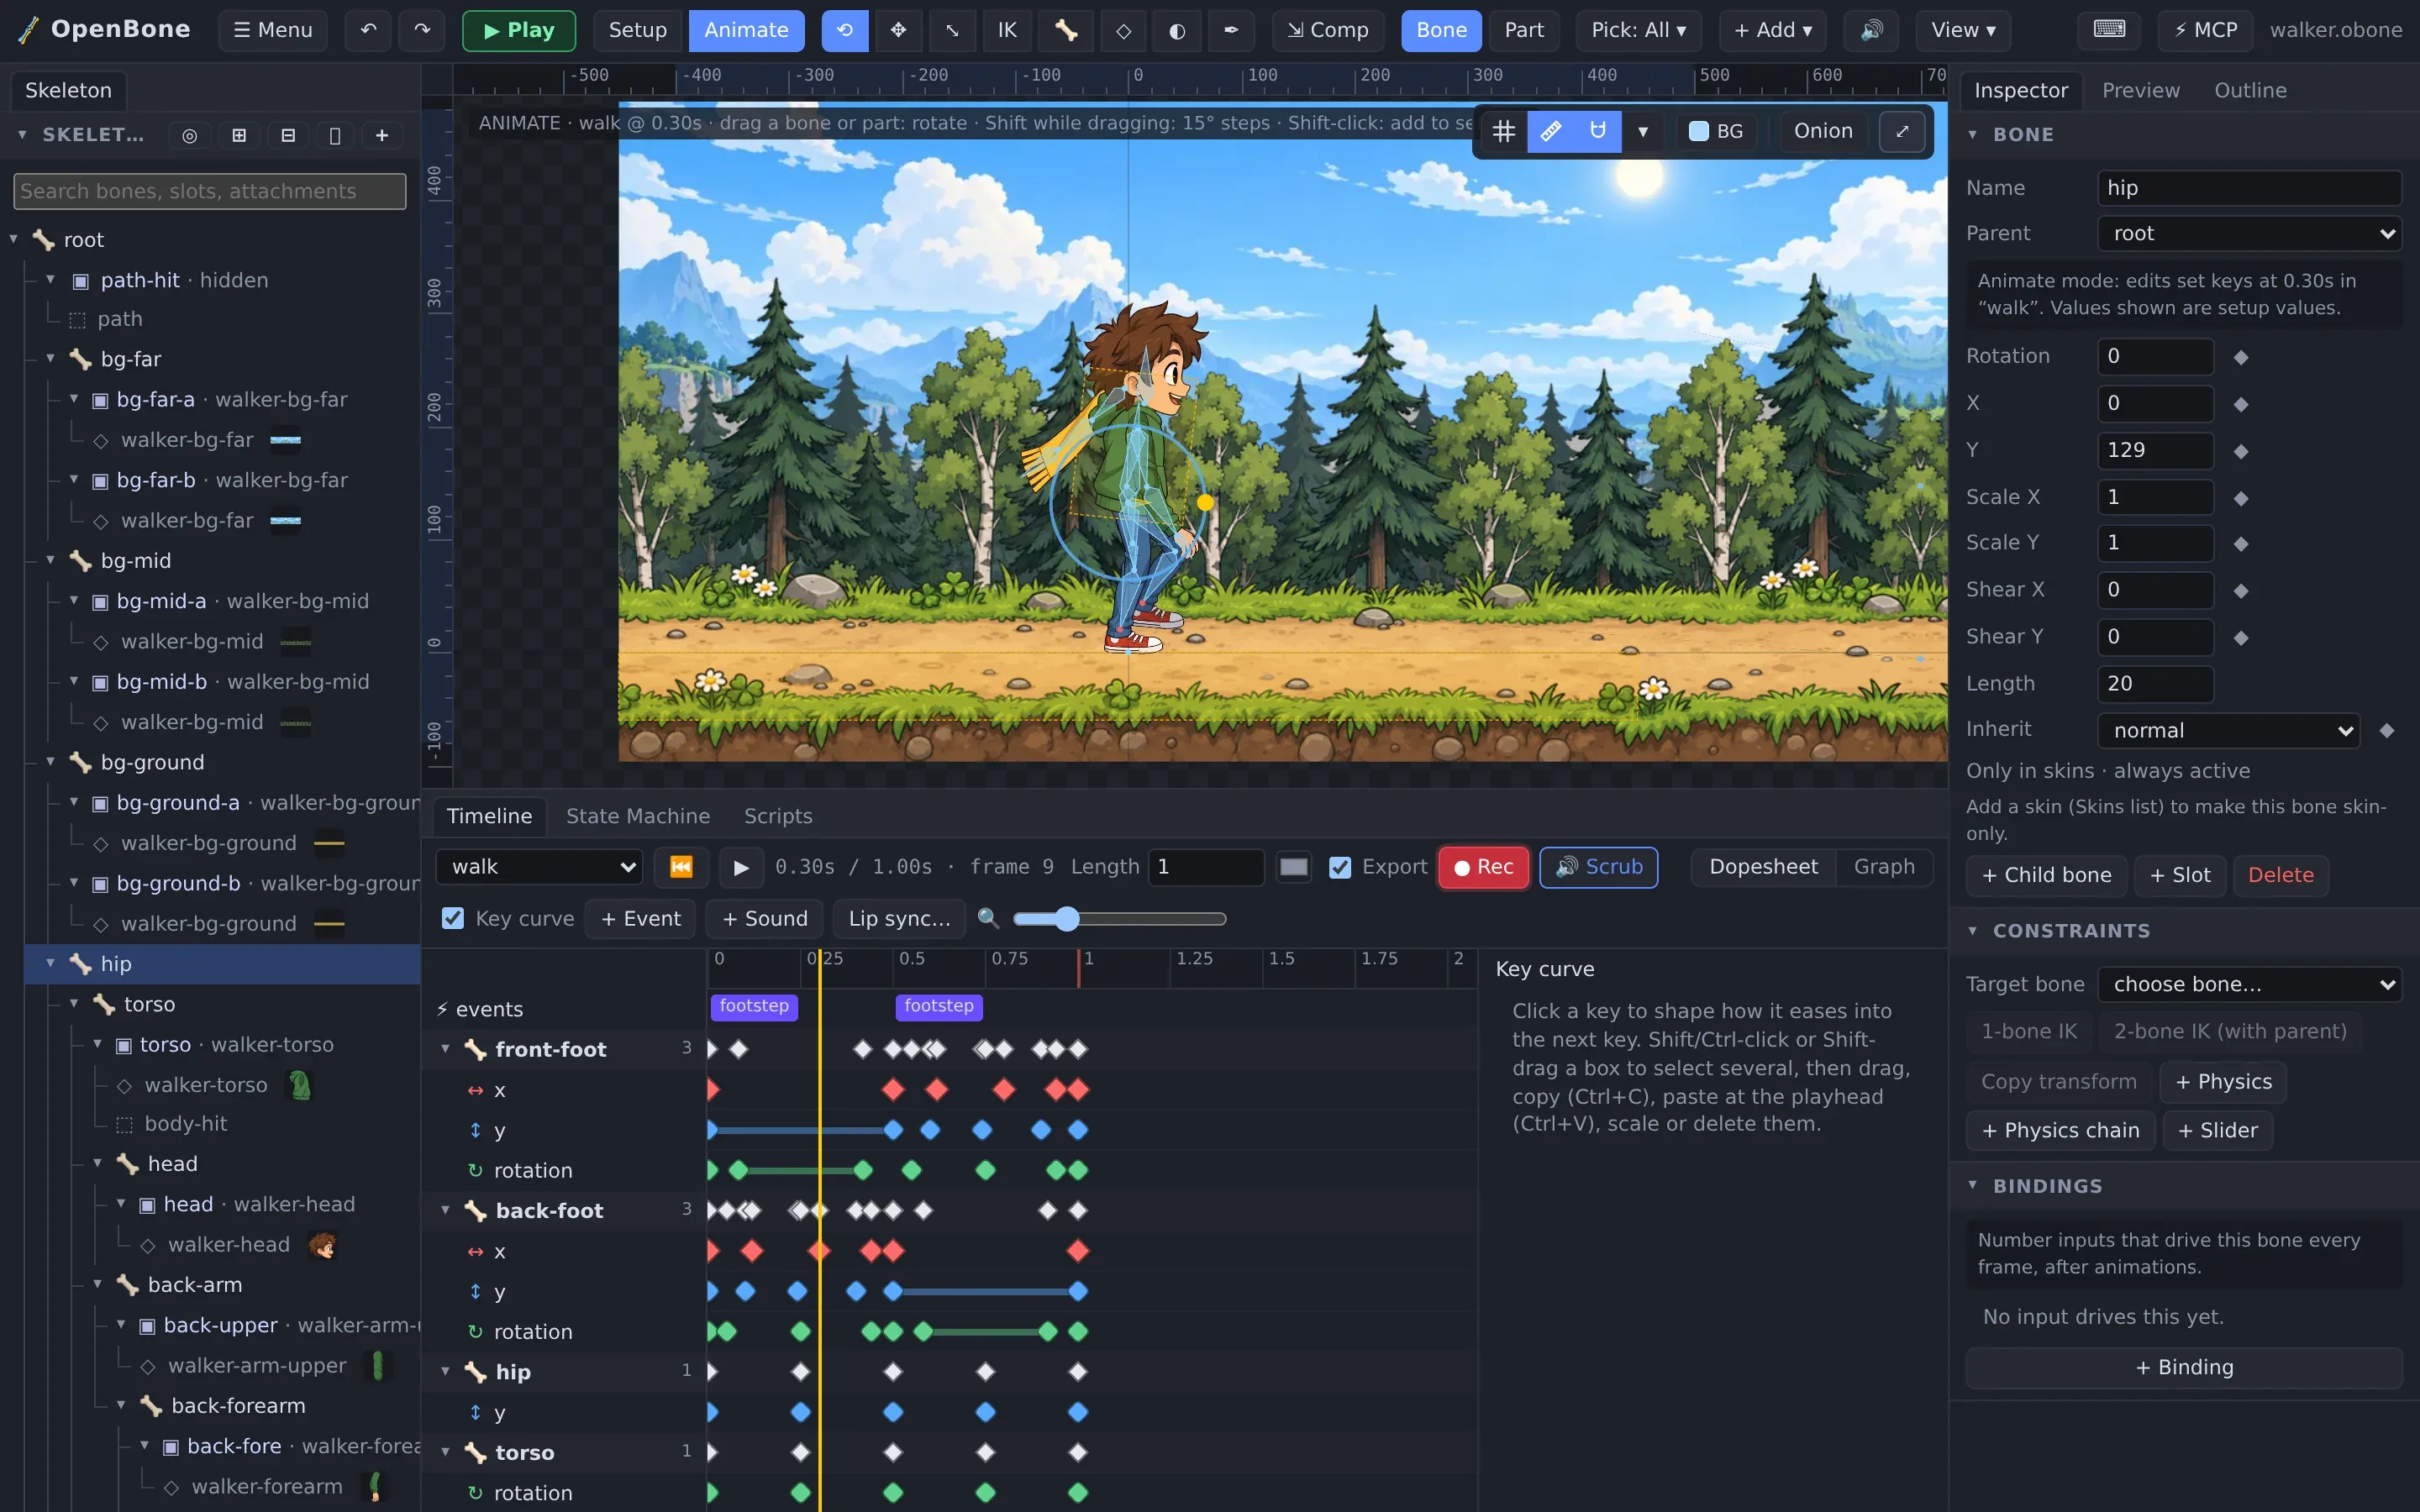
- Select keys with a click, Shift/Ctrl-click or a box; Ctrl/⌘+A selects all.
- Drag to retime, arrow keys to nudge.
- Copy and paste (Ctrl+C, Ctrl+V) at the playhead, even into another animation.
- Scale a selection in time, change the curve of several keys at once, or delete them together.
- + Event keys an event (with int, float and string payloads) that game code and sounds can listen to.
Curves and the graph view
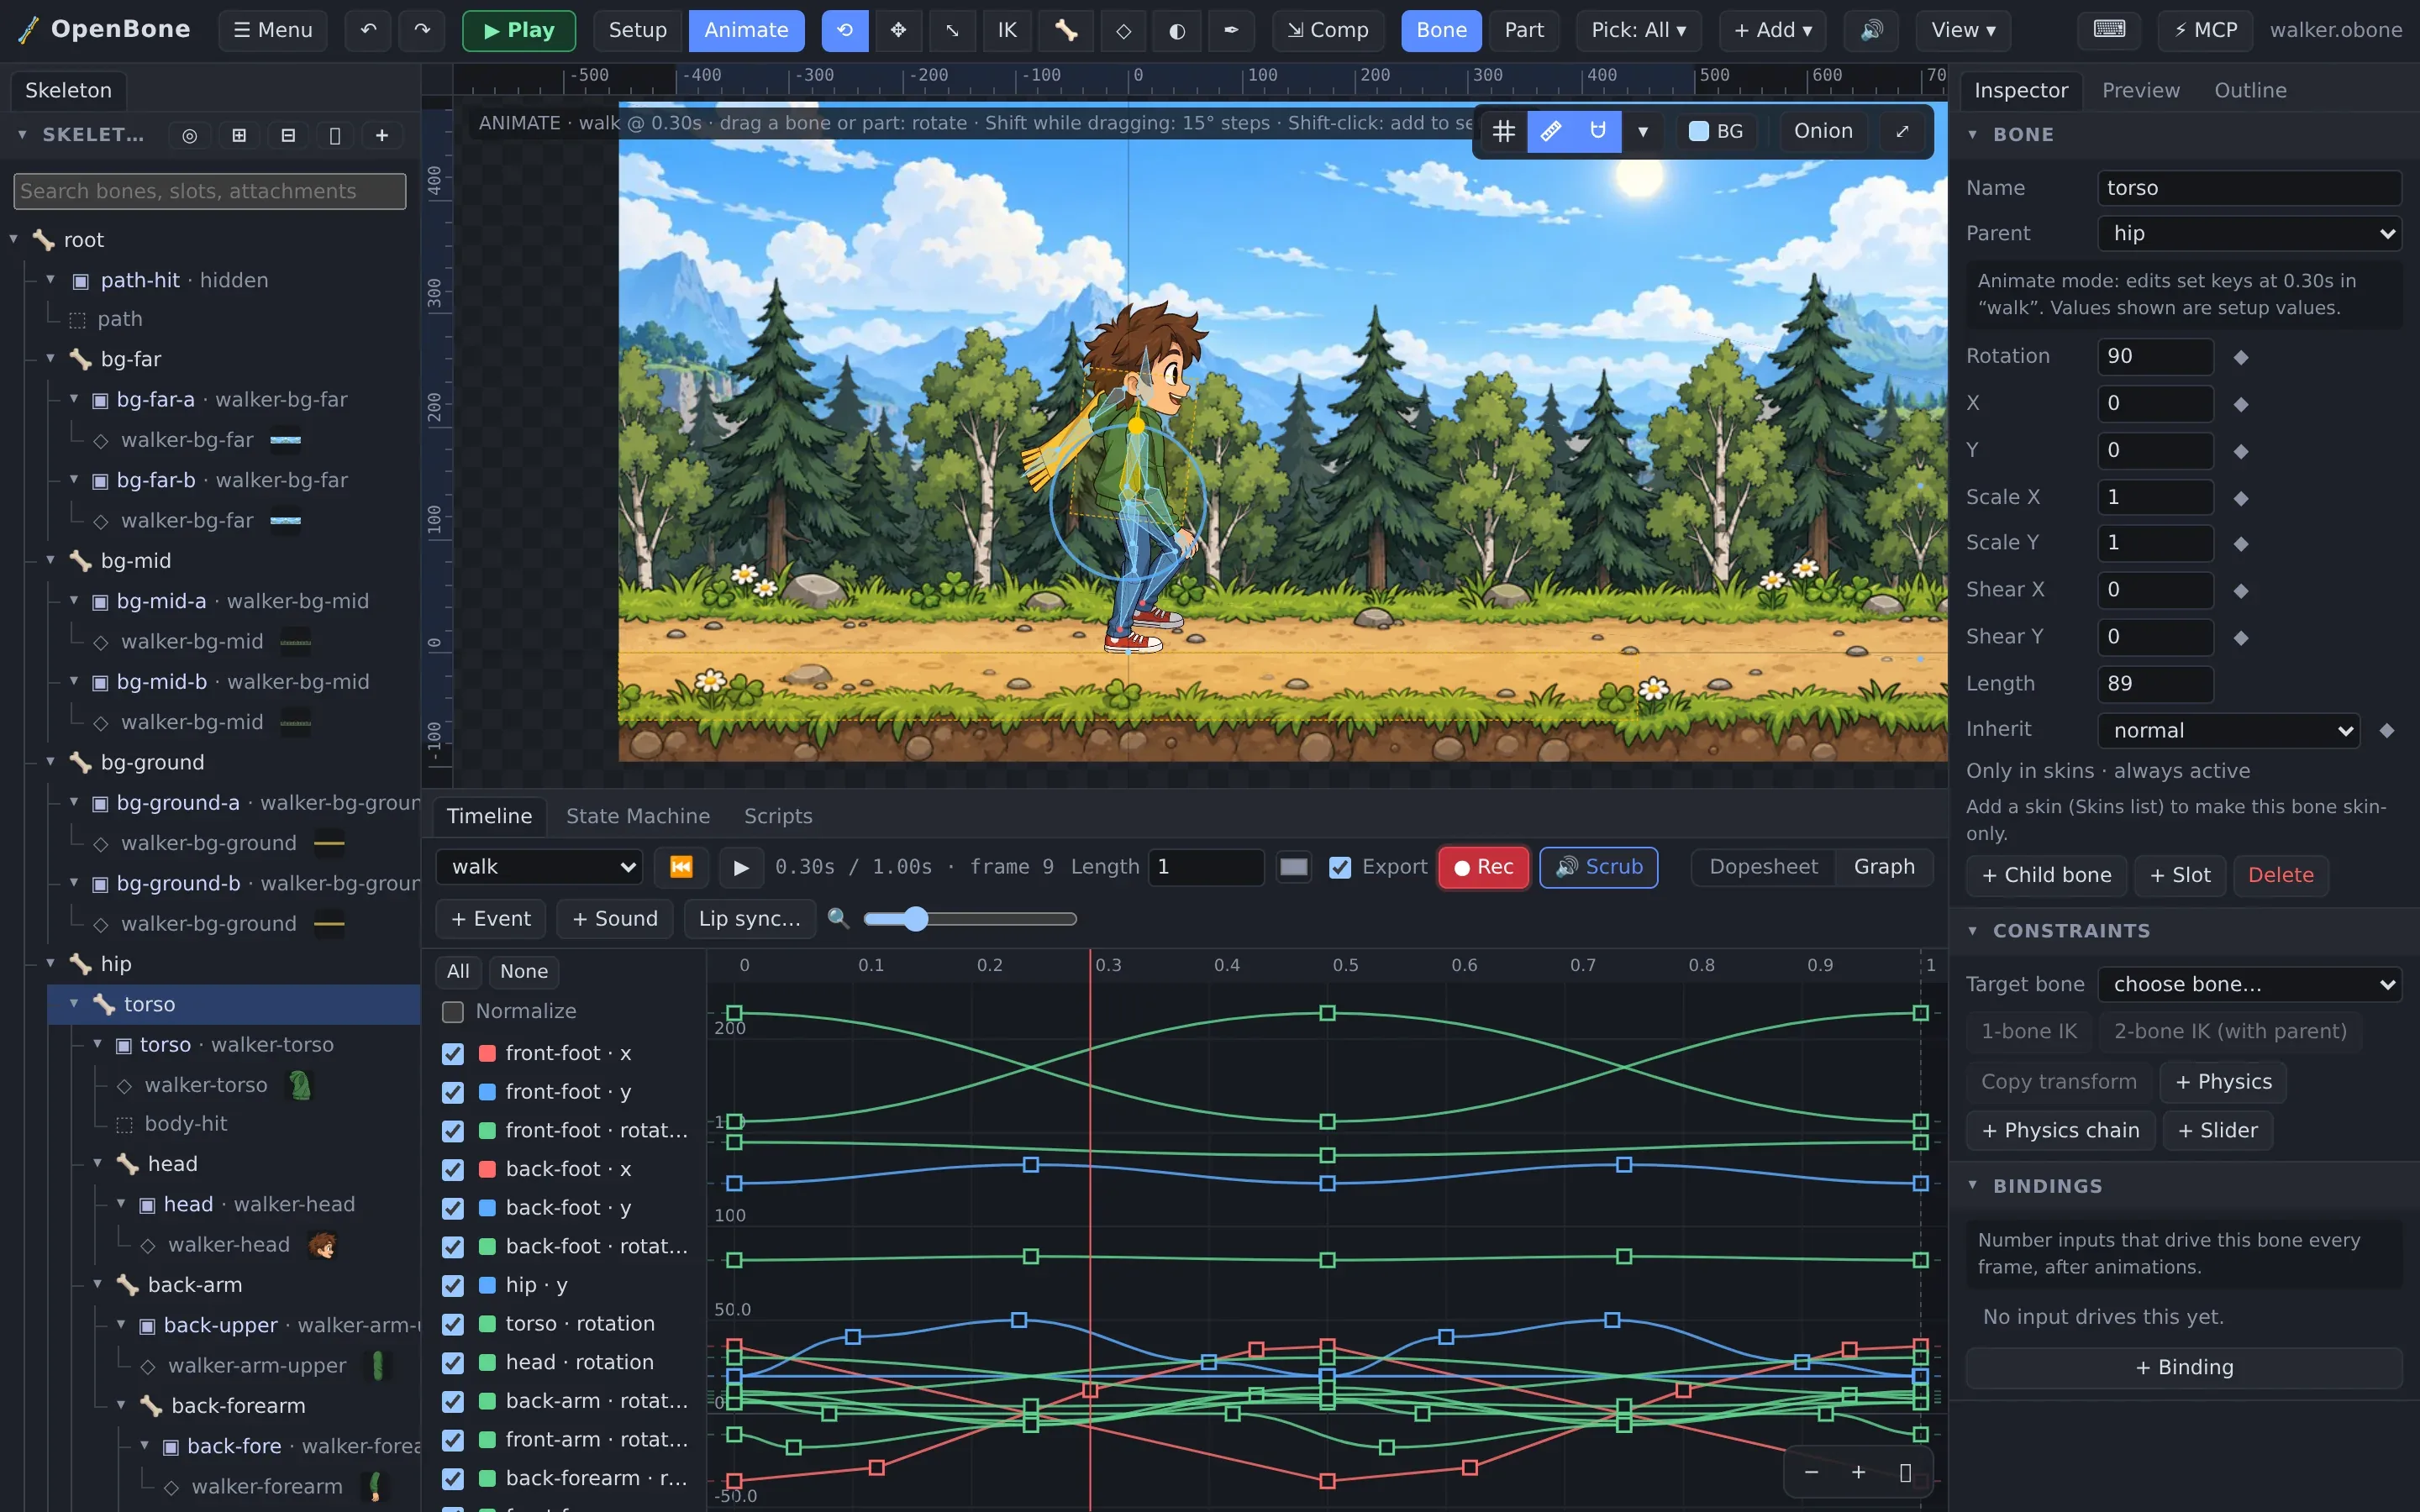
Section titled “Curves and the graph view”Each key has a curve to the next one: linear, stepped or bezier. Click a key and set its curve in the Key curve panel. The Graph view shows the value curves themselves, with bezier handles you can drag.
Free-form deformation
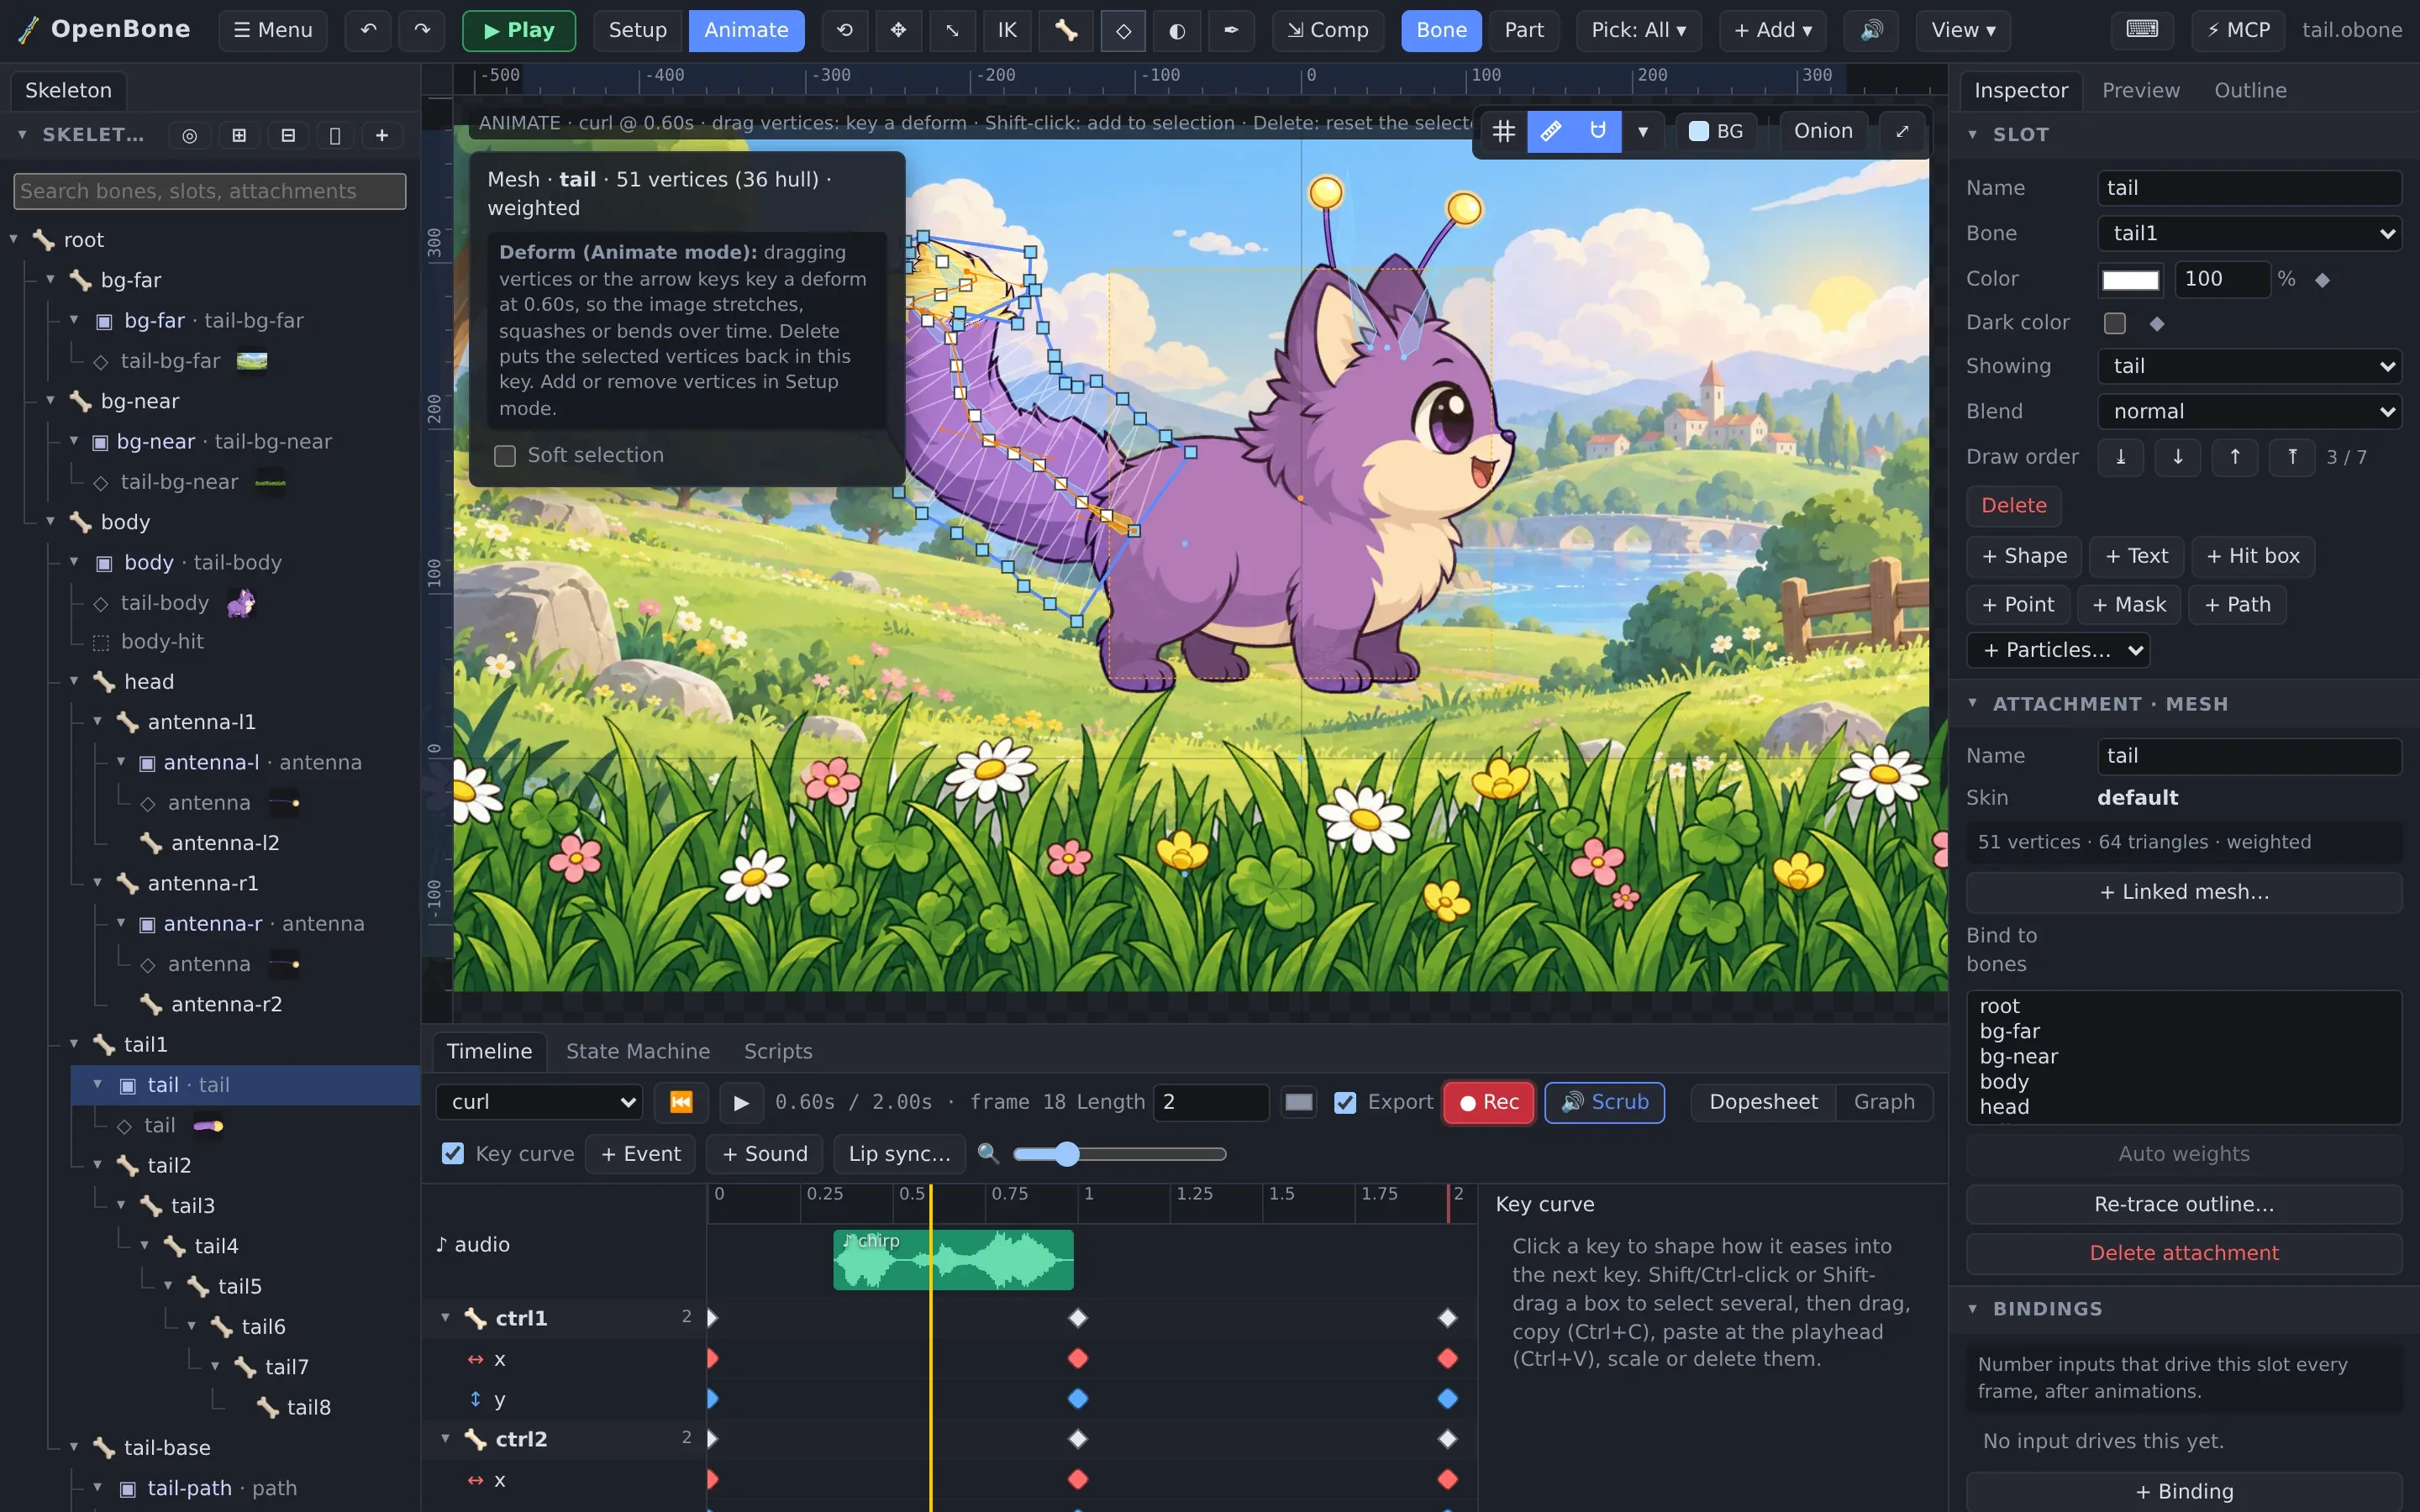
Section titled “Free-form deformation”With the Mesh tool in Animate mode, dragging mesh vertices keys a deform at the playhead: squash, stretch, bulge, or fix a shape the bones alone cannot make. Weighted meshes work too, and Soft selection moves nearby vertices with a falloff.
Onion skin
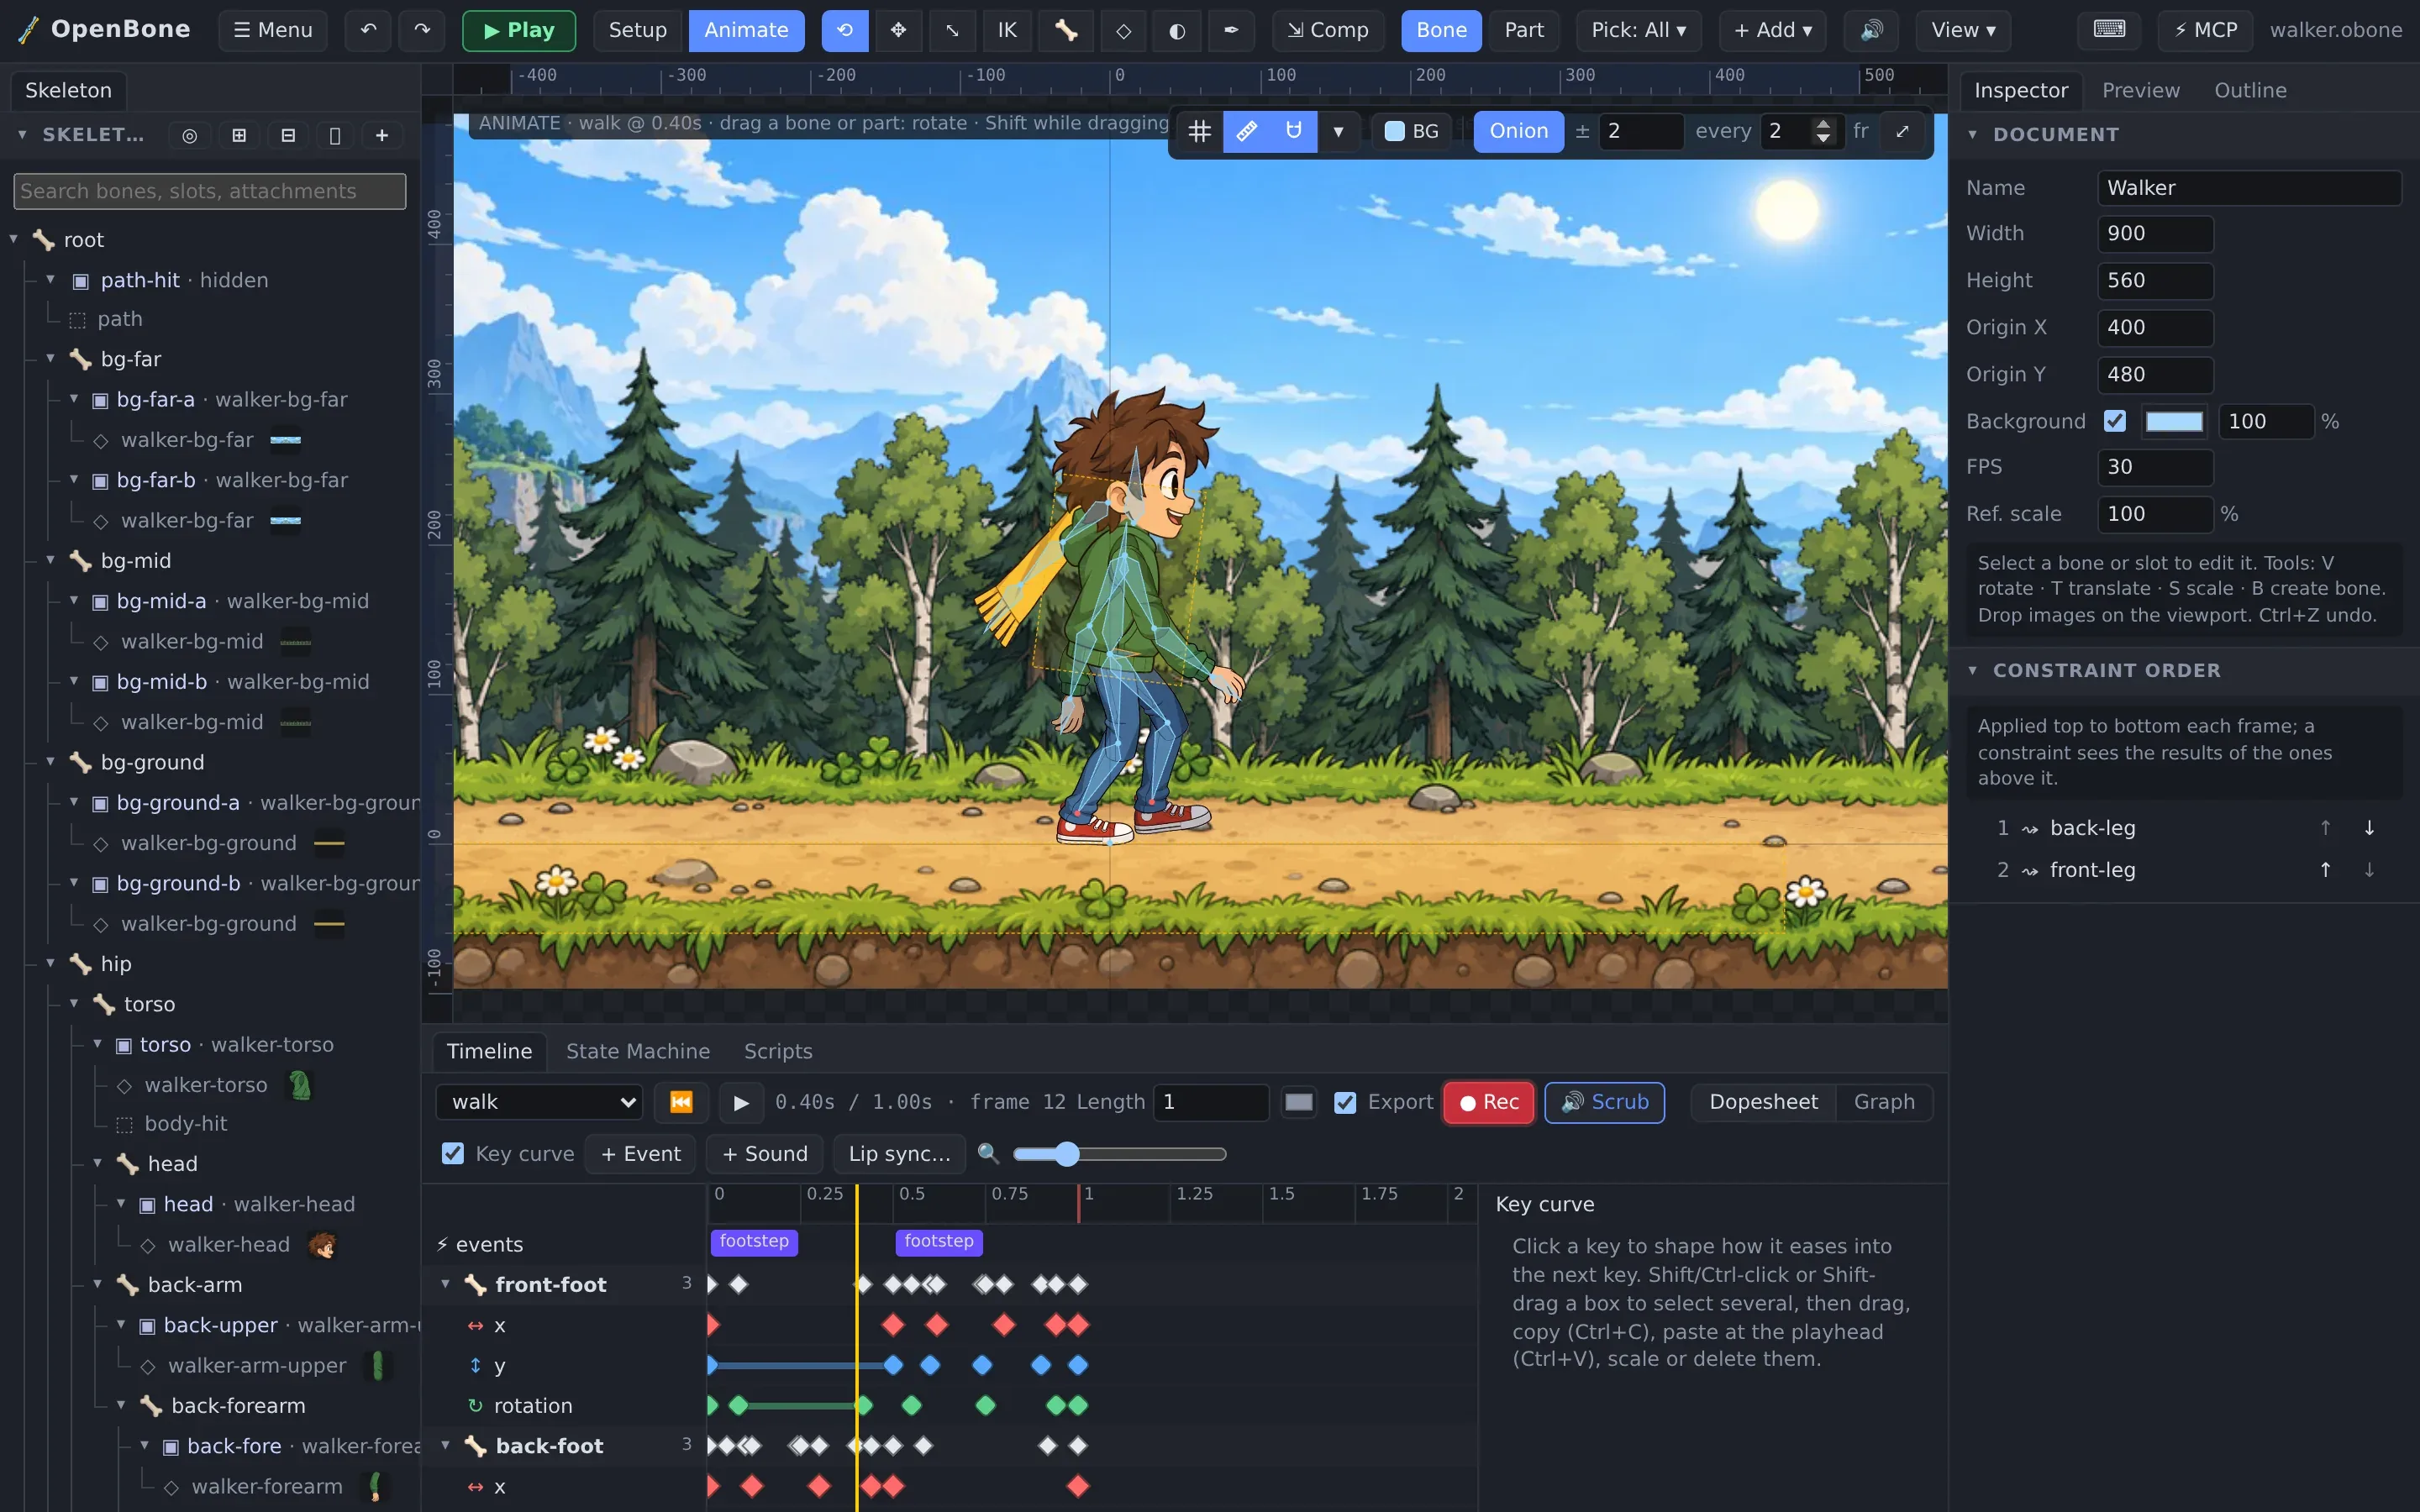
Section titled “Onion skin”Onion in the viewport corner (O) shows ghost poses before (red) and after (green) the current frame. The fields next to it set how many and how far apart.
Mixing animations
Section titled “Mixing animations”Animations play on tracks. A higher track overrides a lower one for the properties it keys, so an aim animation
on track 1 can run over a walk on track 0. Changing animation on a track cross-fades; properties only the
outgoing animation keyed ease back to the setup pose. State machines do all of this for you: see
State machines.
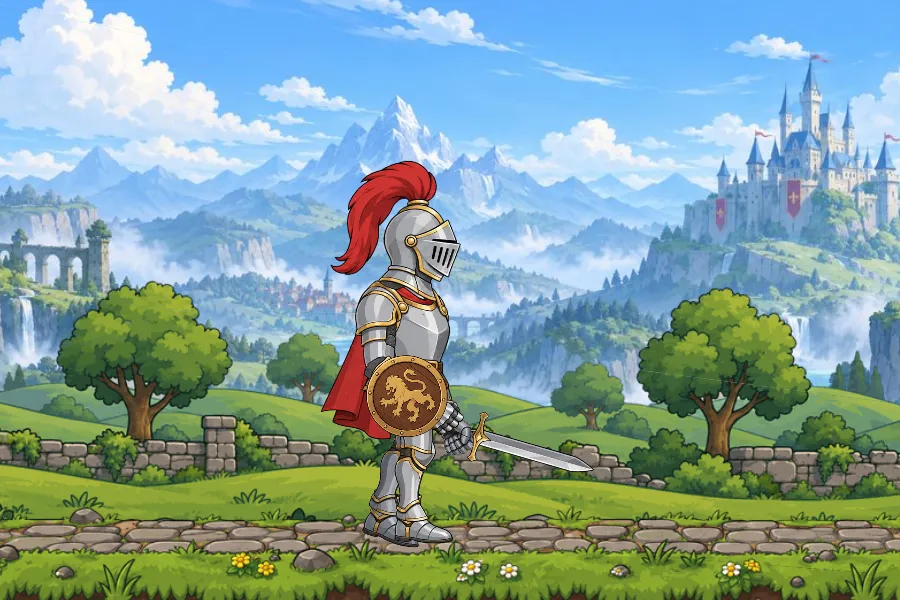
The Knight’s walk, attack and salute are separate animations mixed by its state machine. Click the road, the knight and his helmet.
OpenBone is MIT licensed and made by UXCentury. The example art, voices and sounds are credited in the repository.