
Your first rig
A rig is a skeleton (bones in a tree), slots on those bones (one drawable thing each, in draw order) and attachments in the slots: images, meshes, shapes, text, clipping masks, hit boxes, particles. This guide builds one with the editor’s tools. The Walker example is the finished version, so open it alongside (☰ Menu → Examples… → Walker) to compare.
1. Import the art
Section titled “1. Import the art”Cut your character into parts (head, torso, upper arm, forearm, hand, thigh, shin, foot…) on transparent layers.
- Choose ☰ Menu → New project and set the artboard size and background in the Inspector.
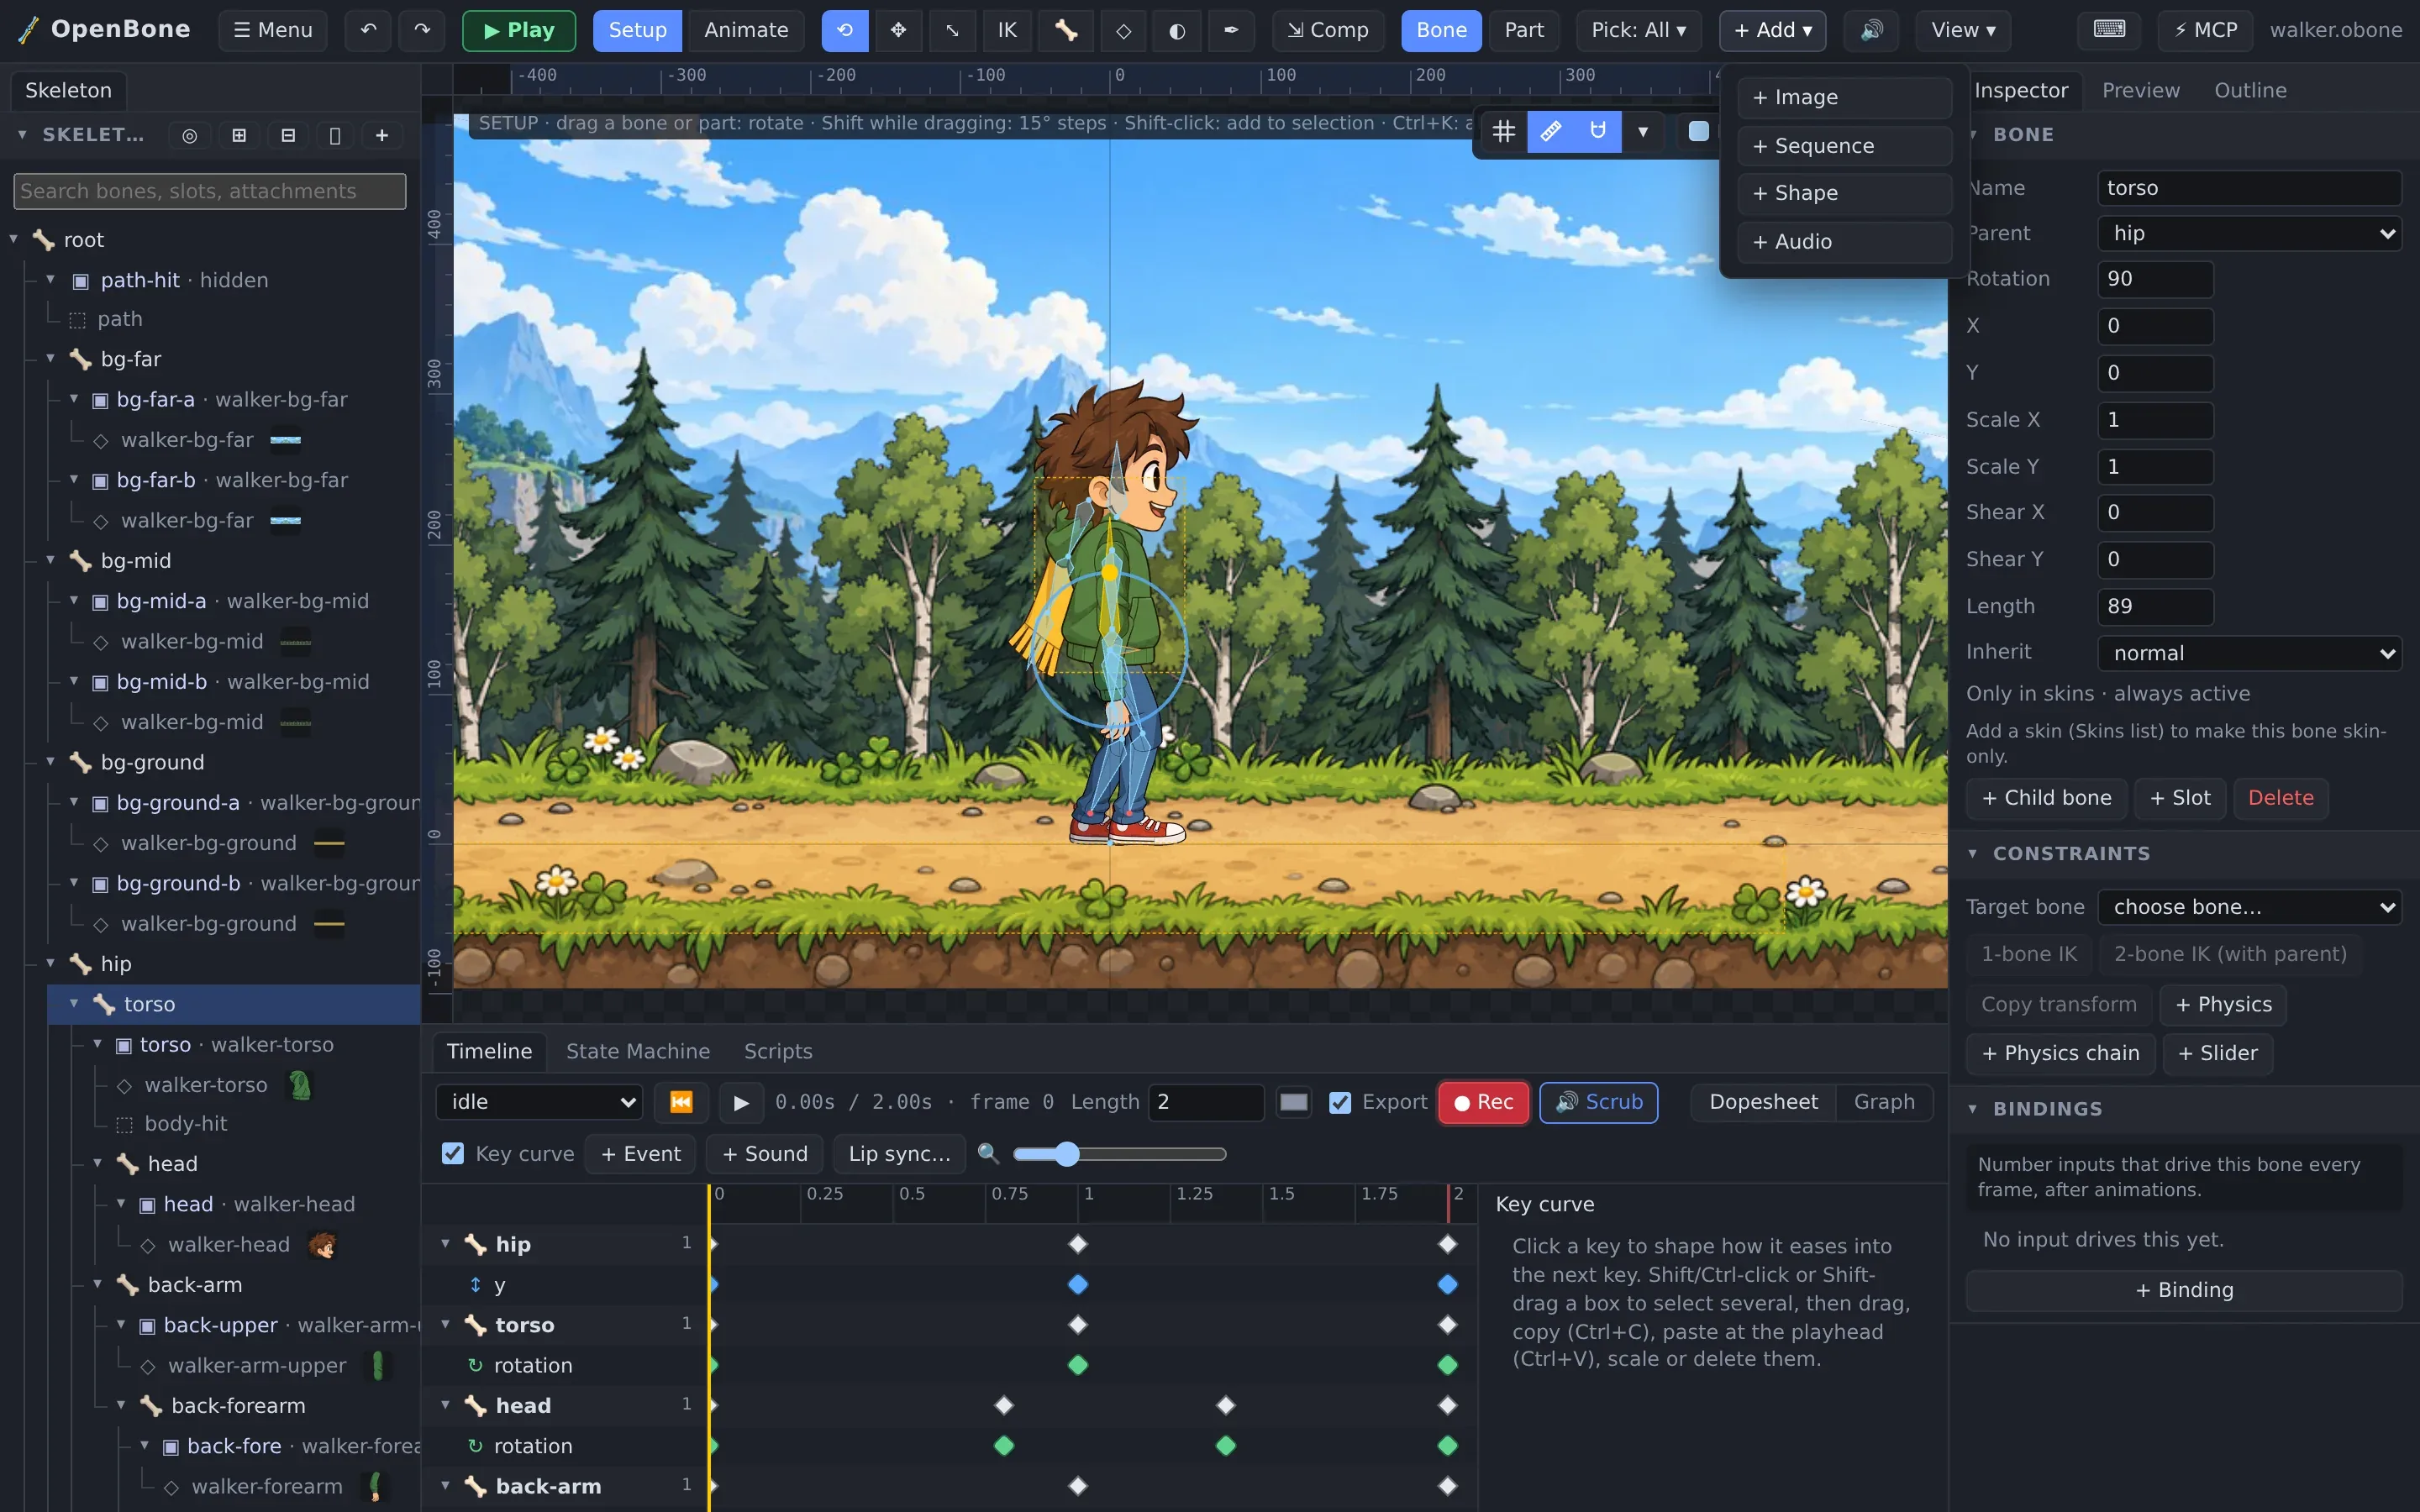
- Choose + Add → Image and pick your PNGs, or drop them on the viewport. Each image becomes a slot with a region attachment, placed on the selected bone.
- A layered Photoshop file works too: every layer becomes an image, slot and region in place, and groups can become bones.
2. Build the skeleton
Section titled “2. Build the skeleton”- Pick the Create bone tool (B). Select the parent bone (start with
root), then drag in the viewport from where the new bone starts to where it ends: a hip, then a torso from the hip, a head from the torso, and so on. - Name each bone in the Inspector as you go (
front-thigh,front-shin…). Names are how your game code, the state machine and an agent refer to them. - Check the hierarchy in the Skeleton tree. Drag a bone onto another to re-parent it.
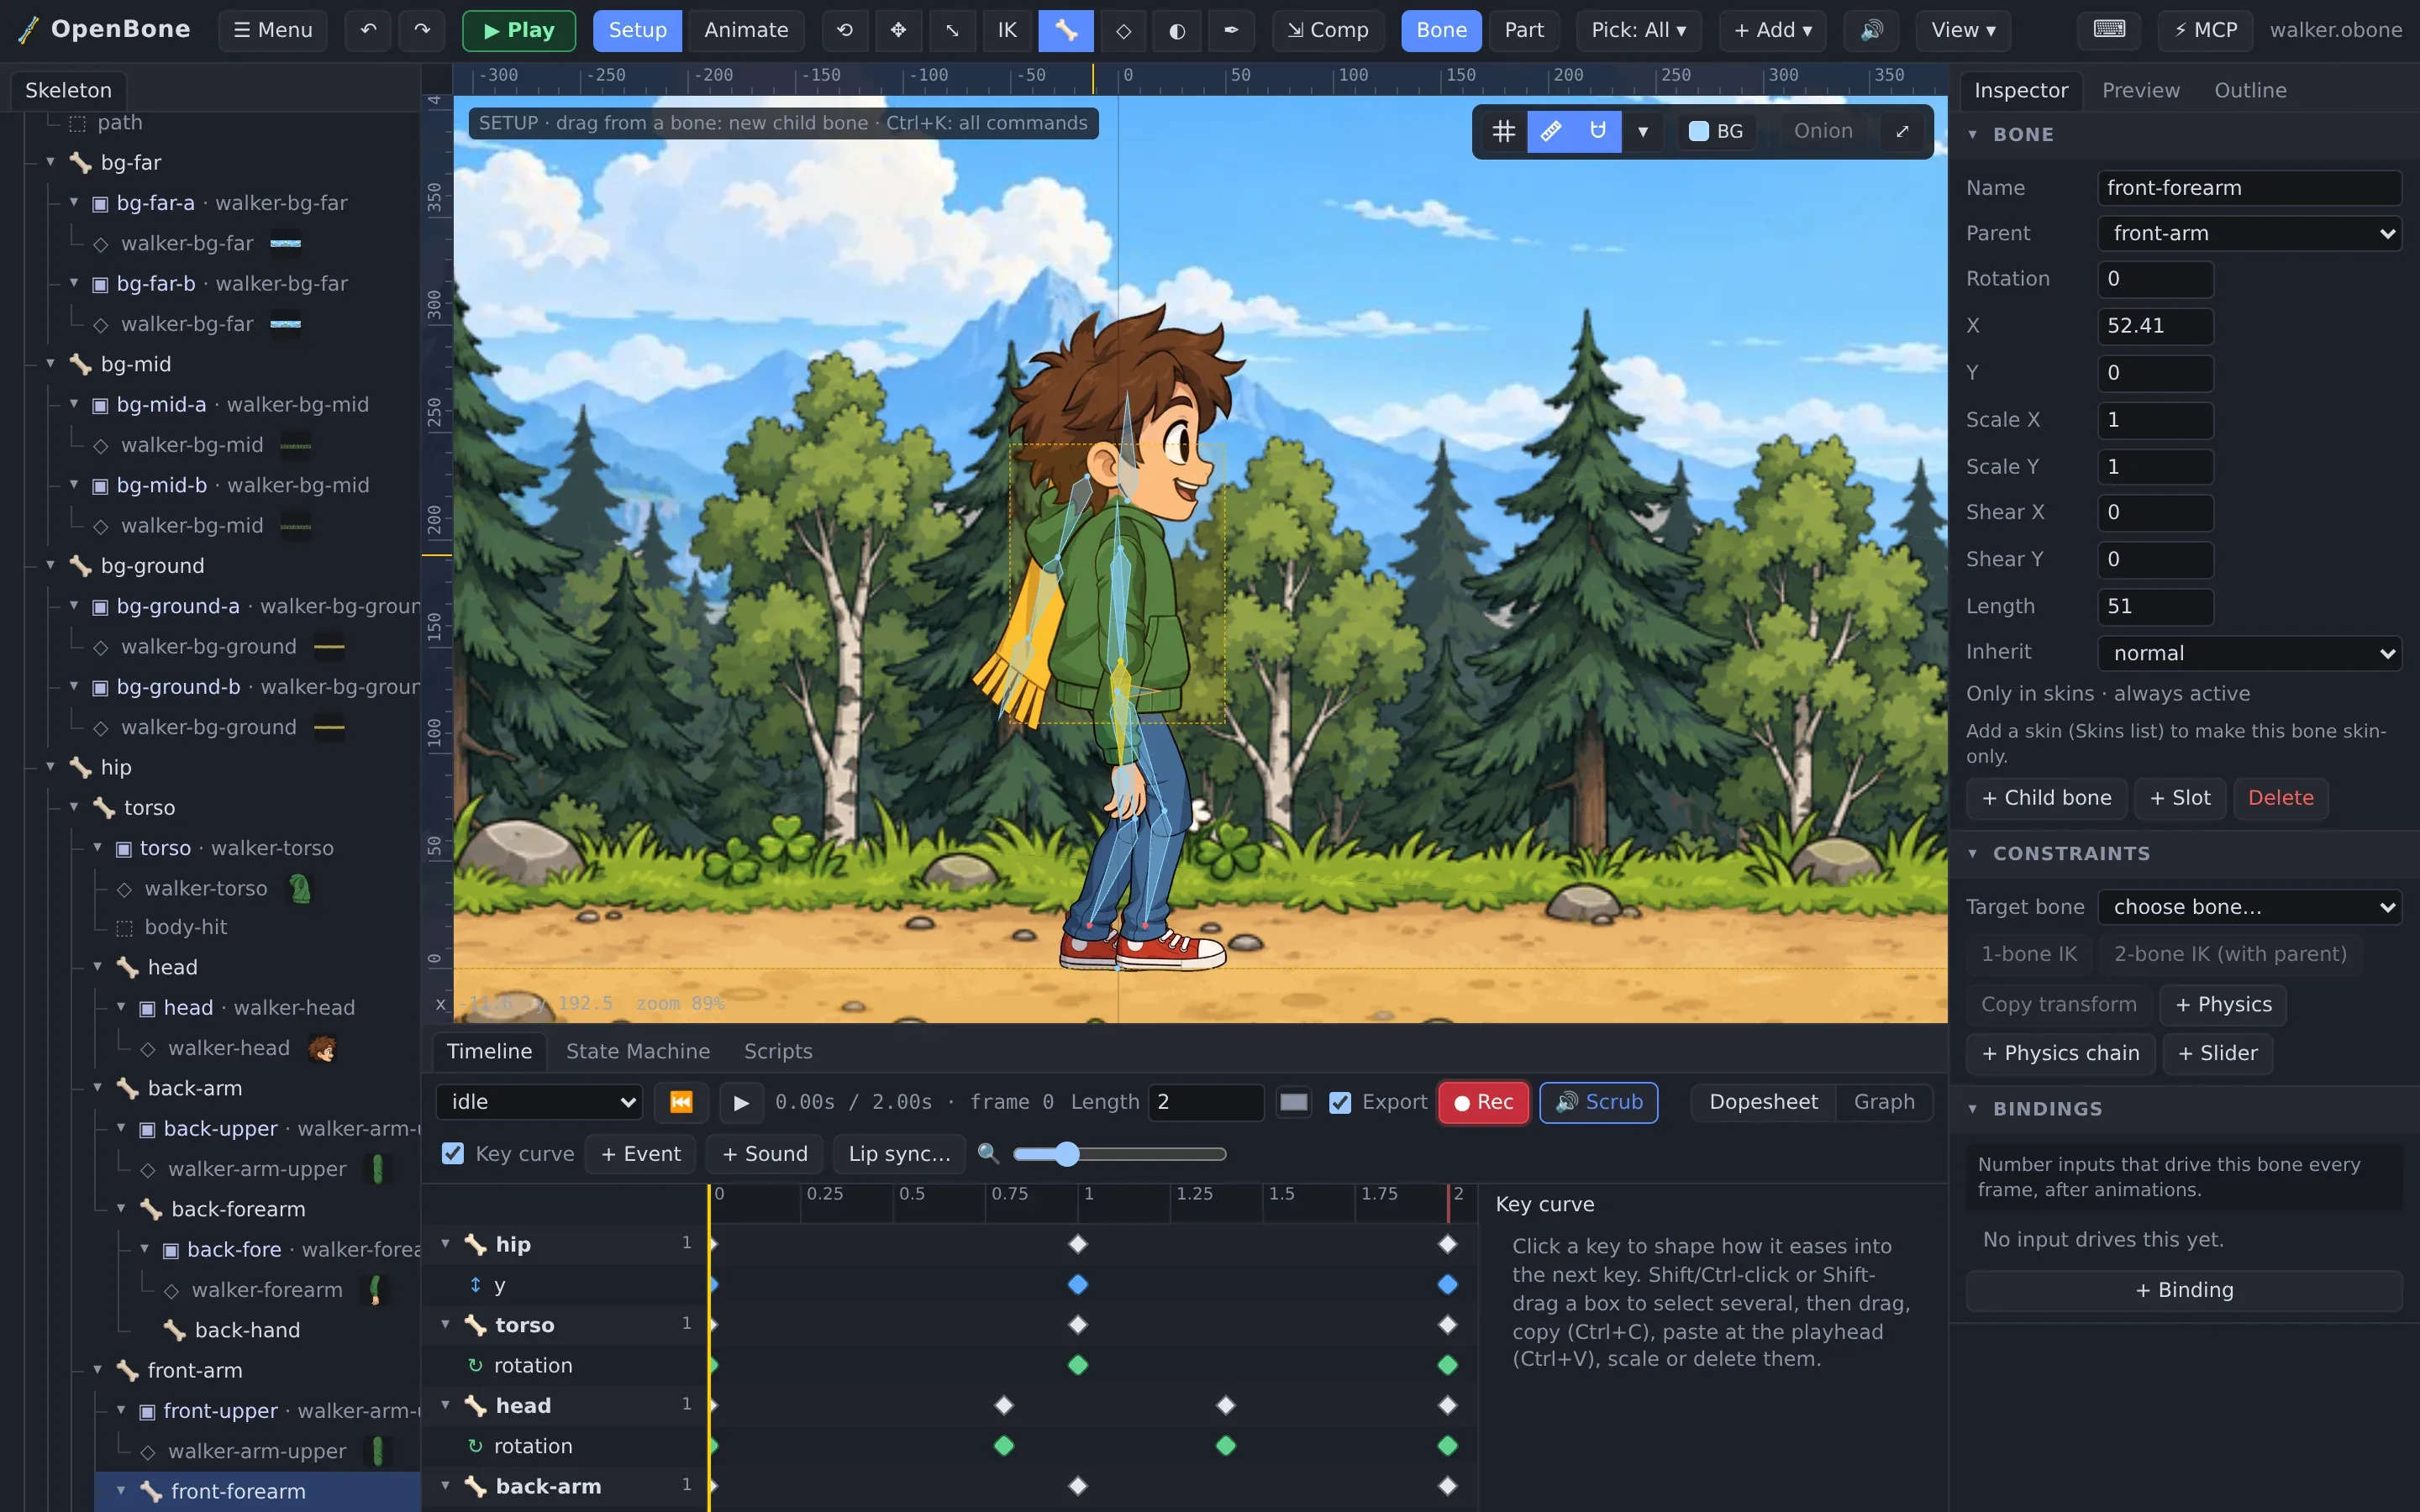
Bones have a length, rotation, translation, scale and shear, and an inherit mode (normal, only translation, no rotation, no scale) that can even be keyed per frame. ⇲ Comp (Compensate, J) moves a bone without moving its children, which is handy when you fix a joint position after the fact.
3. Put the art on the bones
Section titled “3. Put the art on the bones”Select a slot (the image) and set its Bone in the Inspector, or select the bone first and use + Add so new images land on it. In Part mode the move, rotate and scale gizmos act on the picture itself, so you can line it up with its bone without moving the bone.
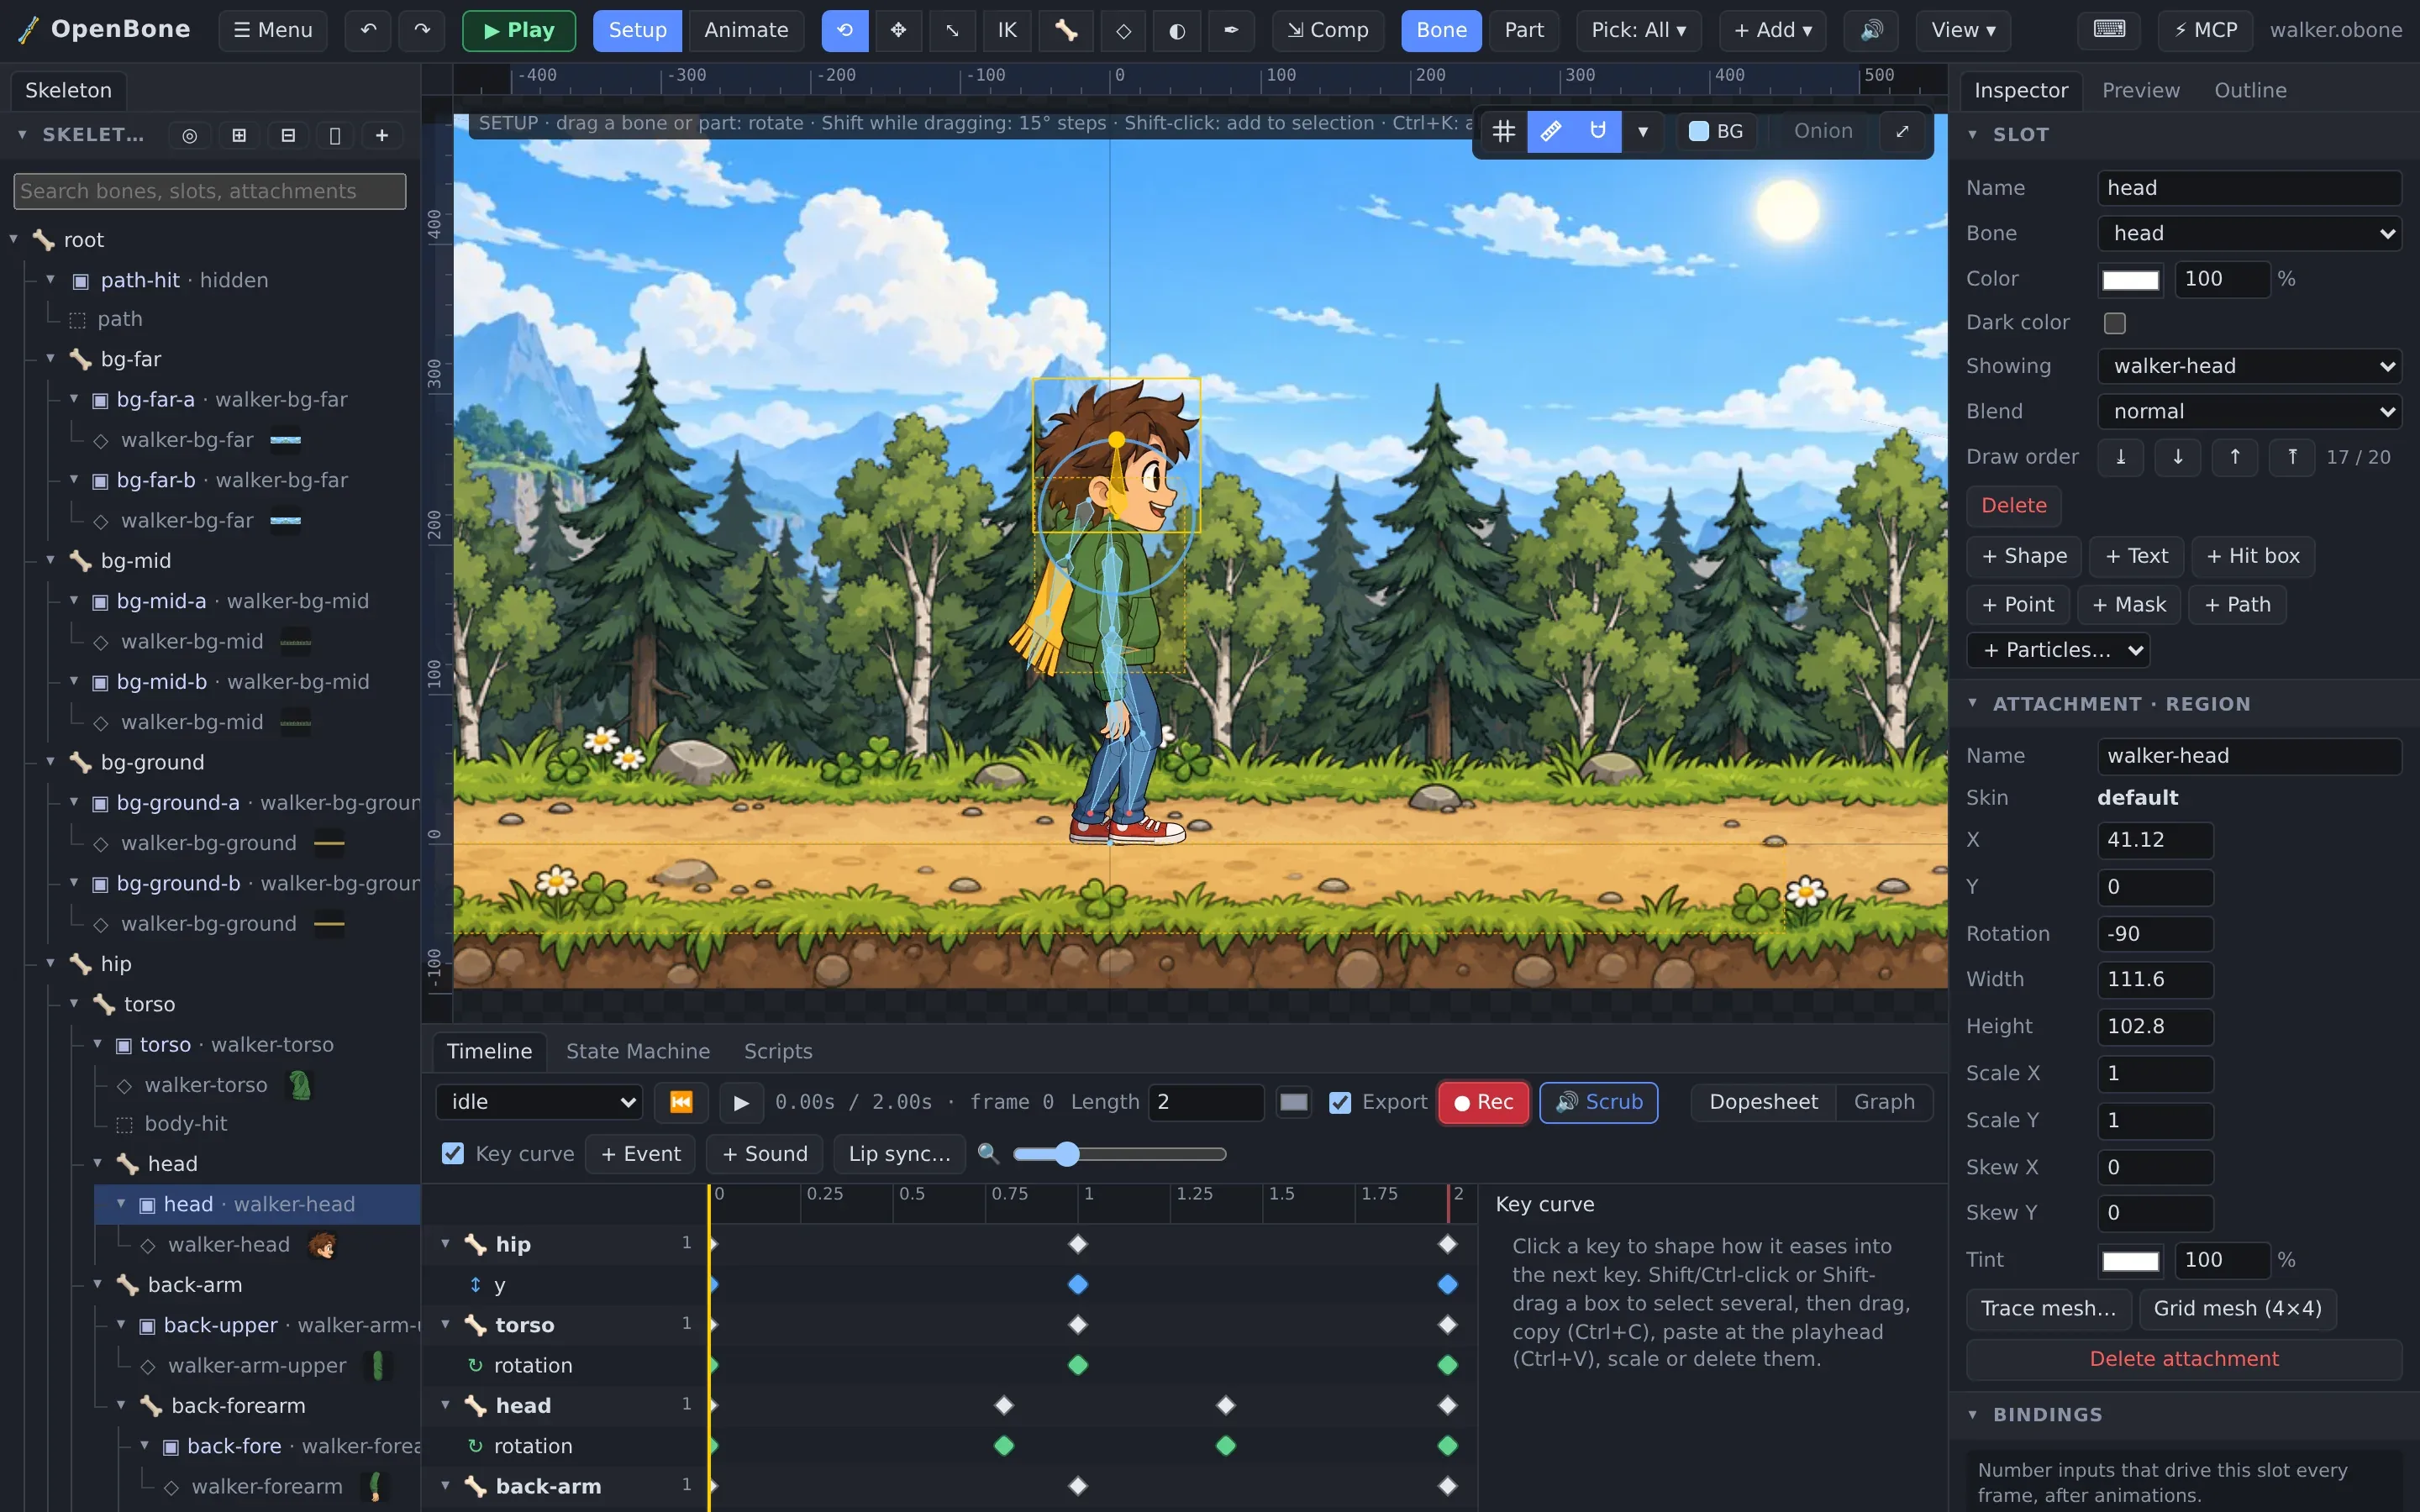
A slot can hold several attachments (open and closed eyes, mouth shapes) and shows one at a time; animations switch between them. Skins swap whole sets of attachments for outfits.
4. Turn a part into a mesh
Section titled “4. Turn a part into a mesh”Parts that should bend (a scarf, a tail, hair, cloth) need a mesh instead of a flat image.
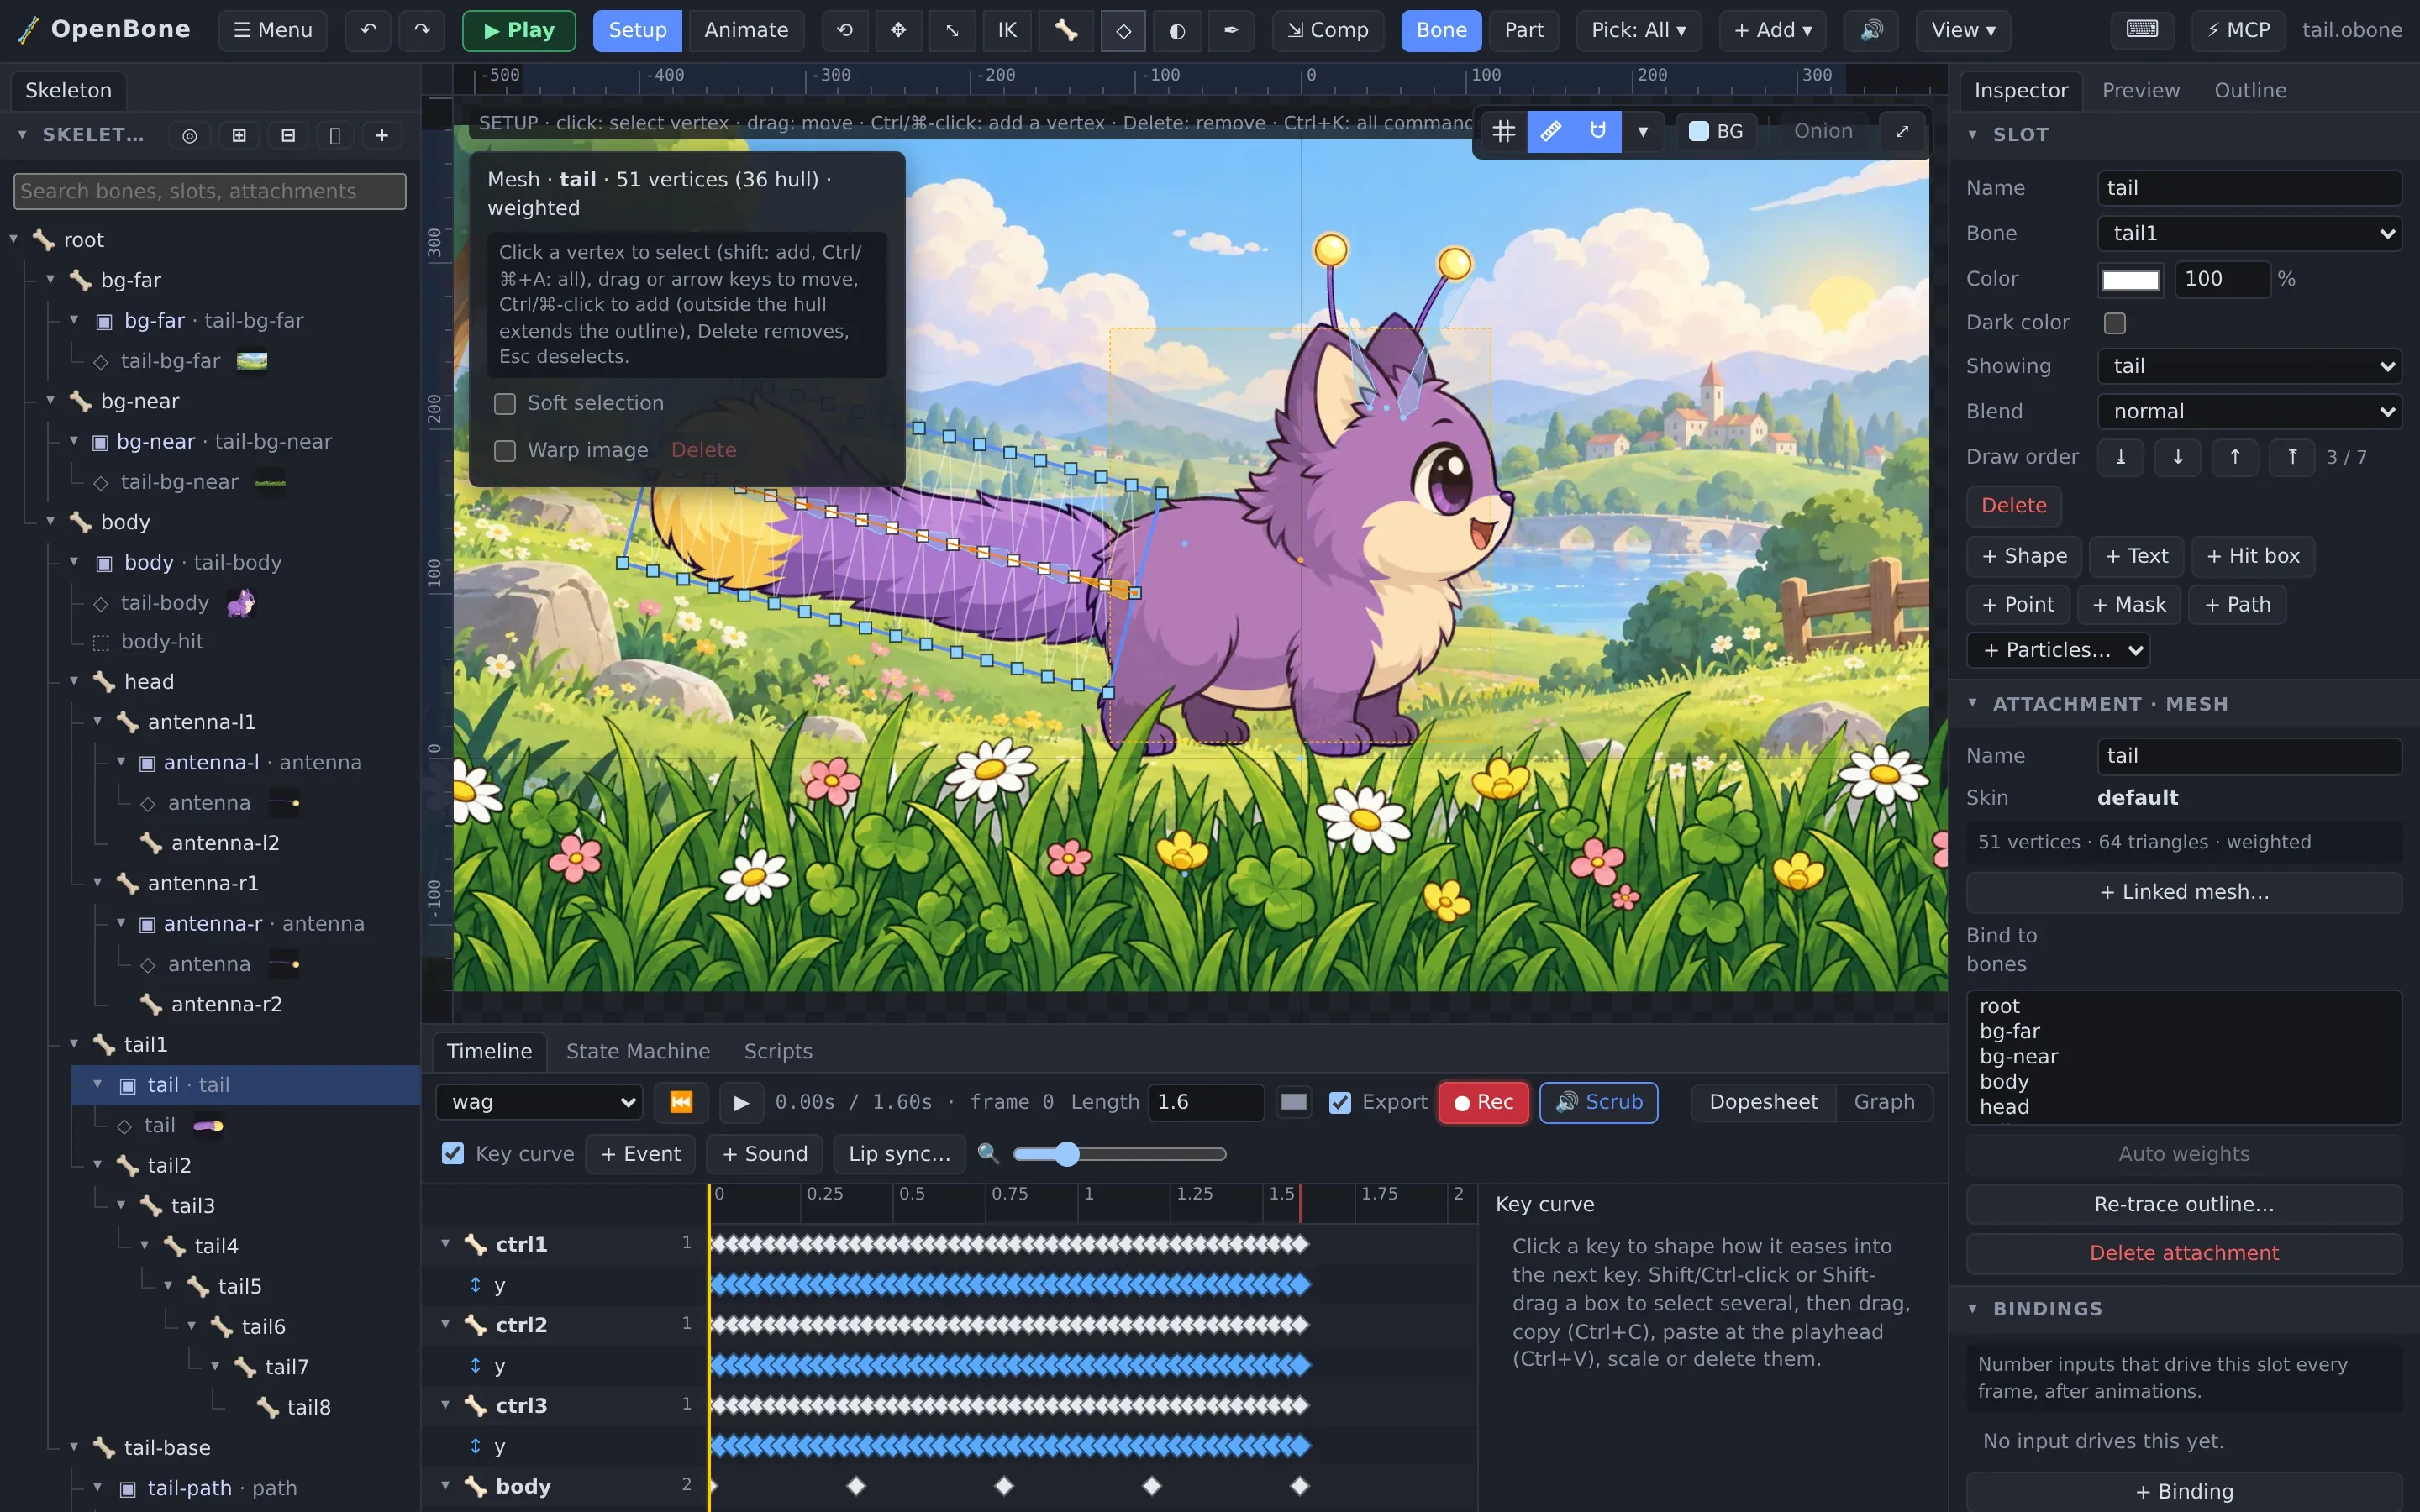
- Select the image’s slot and choose Trace mesh… in the Inspector: OpenBone traces the visible pixels into an outline and triangulates it. Grid mesh makes a regular grid instead.
- Pick the Mesh tool (M) to edit vertices: drag to move, Ctrl/⌘-click to add, Delete to remove. Add interior vertices where the part should bend.
- Bind to bones: list the bones that should move the mesh.
5. Paint the weights
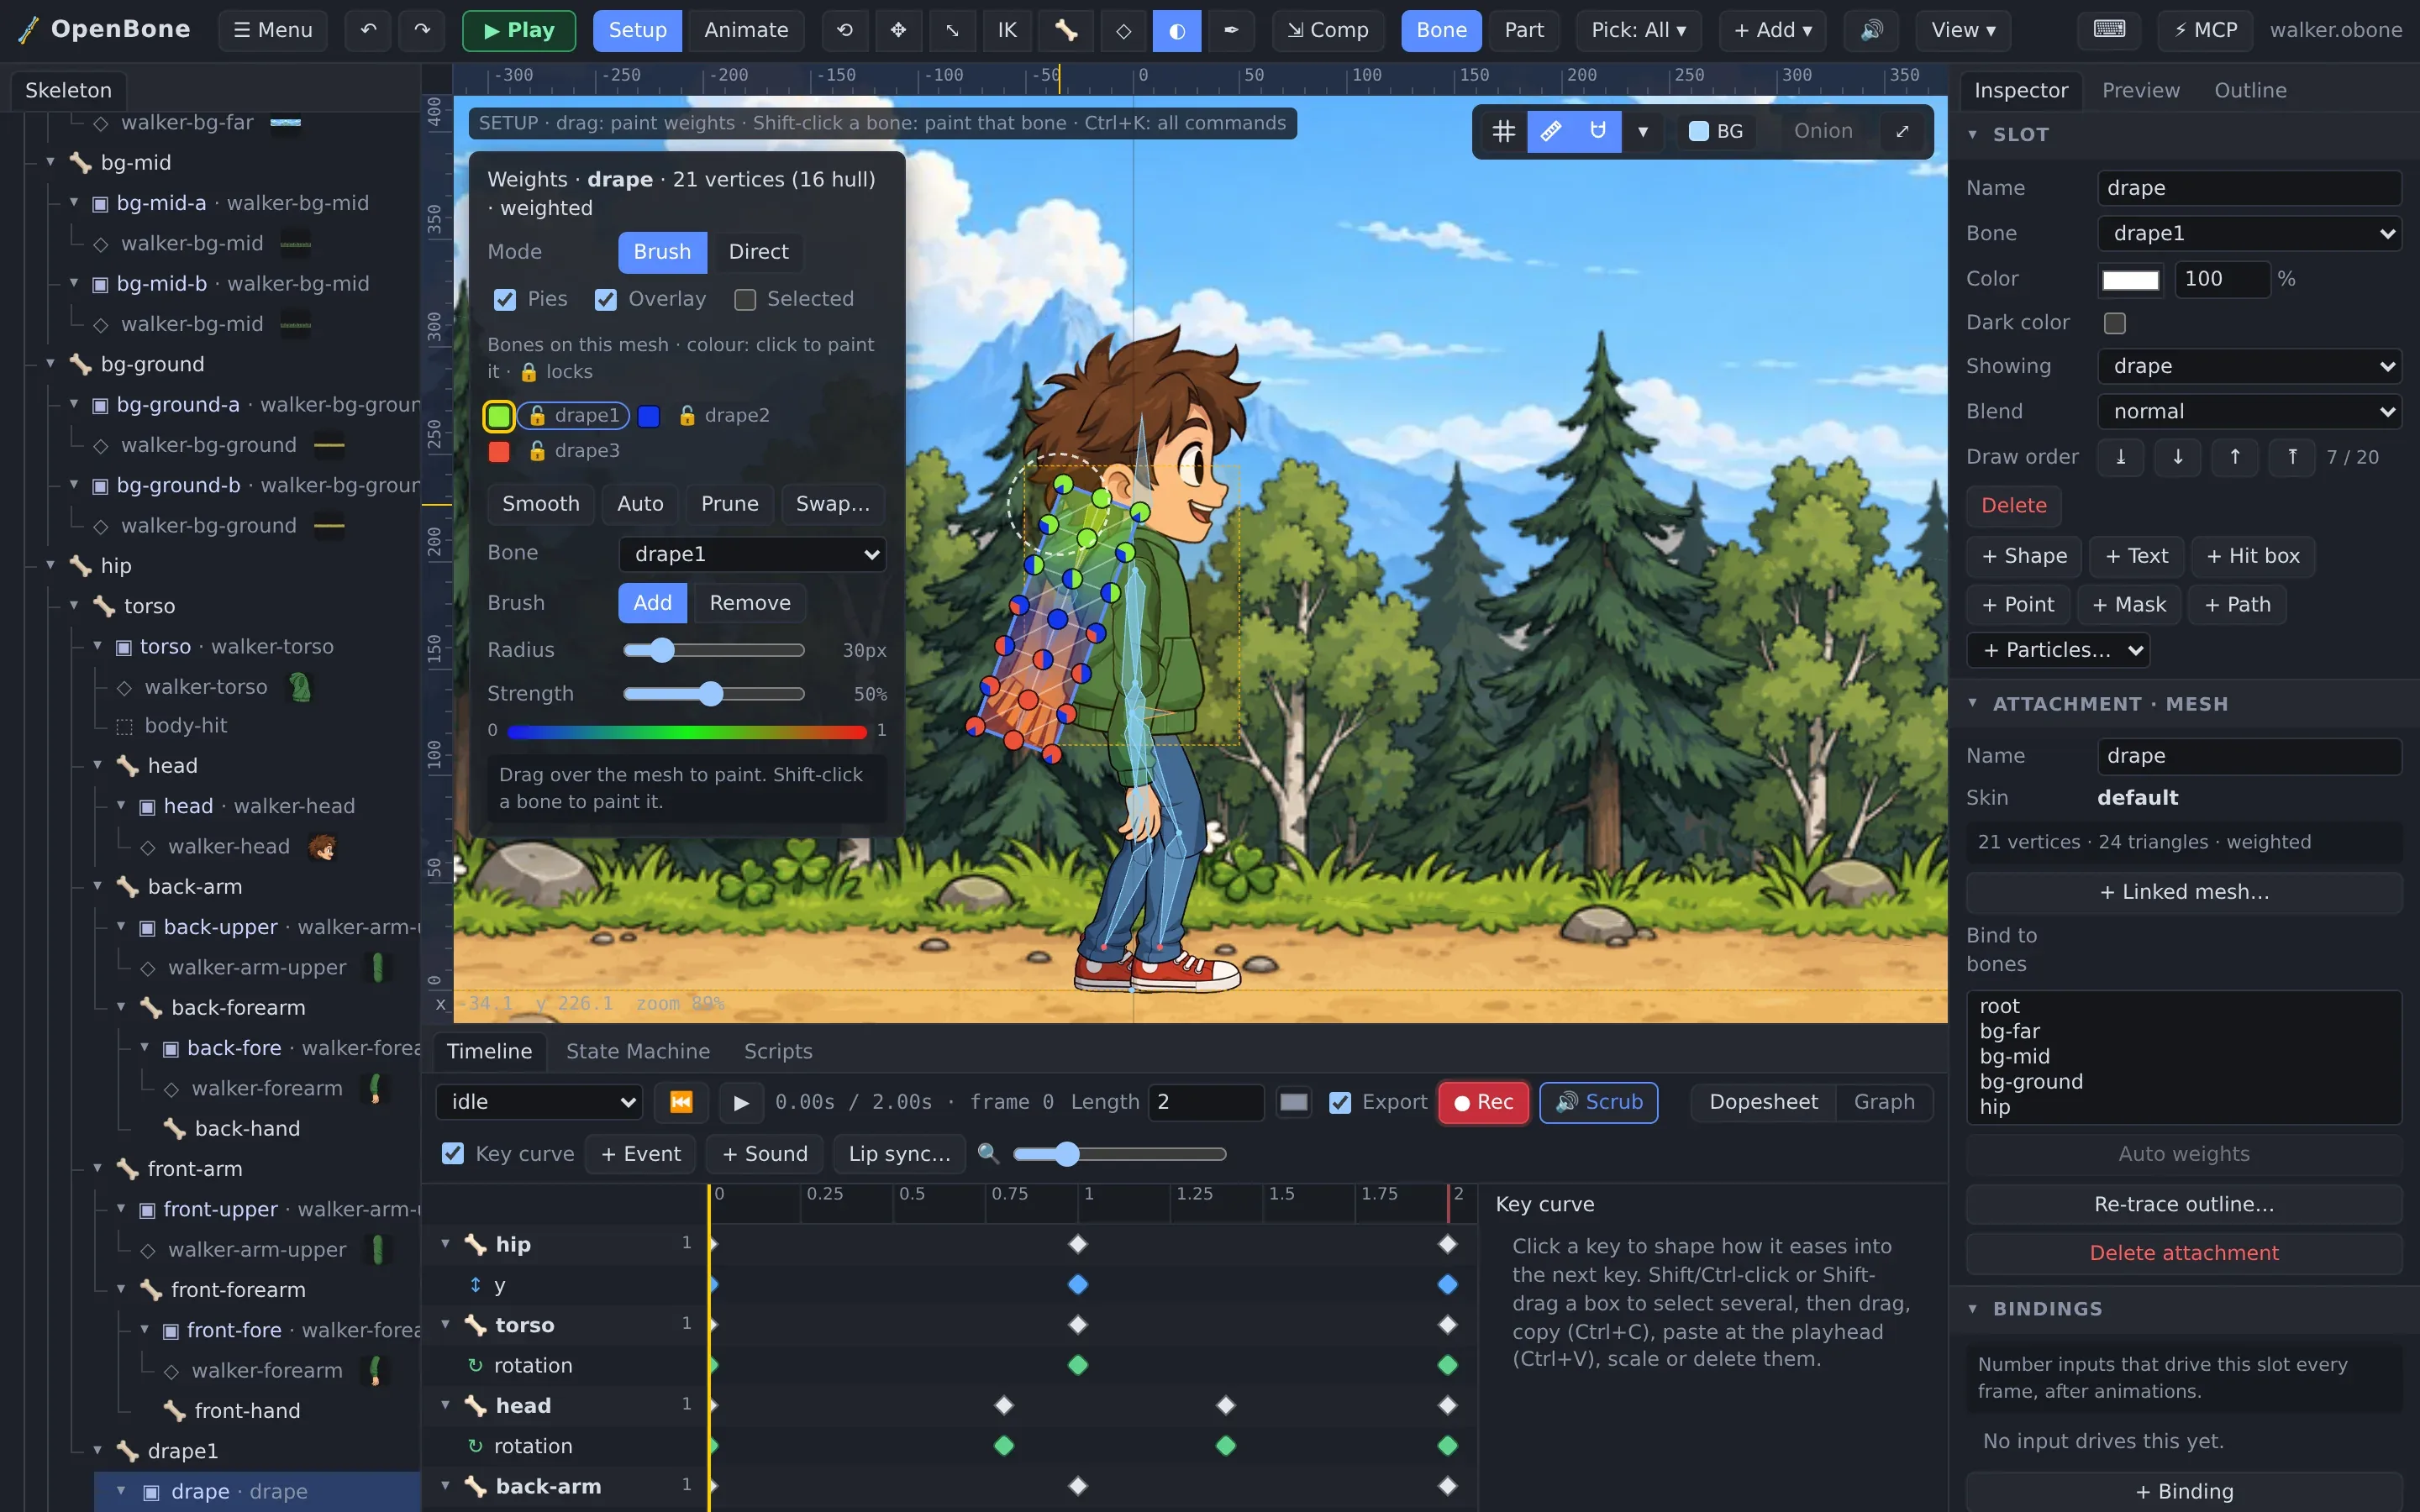
Section titled “5. Paint the weights”Weights say how much each bone moves each vertex.
- Select the mesh and pick the Weights tool (W).
- Press Auto for a first pass from the bones’ positions.
- Pick a bone in the list (each has its own colour) and paint with Add or Remove; Radius and Strength set the brush. Direct mode types exact values for the selected vertices.
- Smooth evens out transitions, Prune removes tiny weights, Swap moves weights from one bone to another, and the 🔒 locks keep a bone’s weights while you paint the others.
6. Add IK
Section titled “6. Add IK”Legs and arms are easier to animate with inverse kinematics: you move the foot, and the thigh and shin follow.
- Add a target bone for the foot (a child of
rootor of the hip, not of the leg). - Select the shin, and under Constraints in the Inspector choose a Target bone and 2-bone IK (with parent).
- Set Mix, Softness, Bend +/−, Stretch and compression as needed.
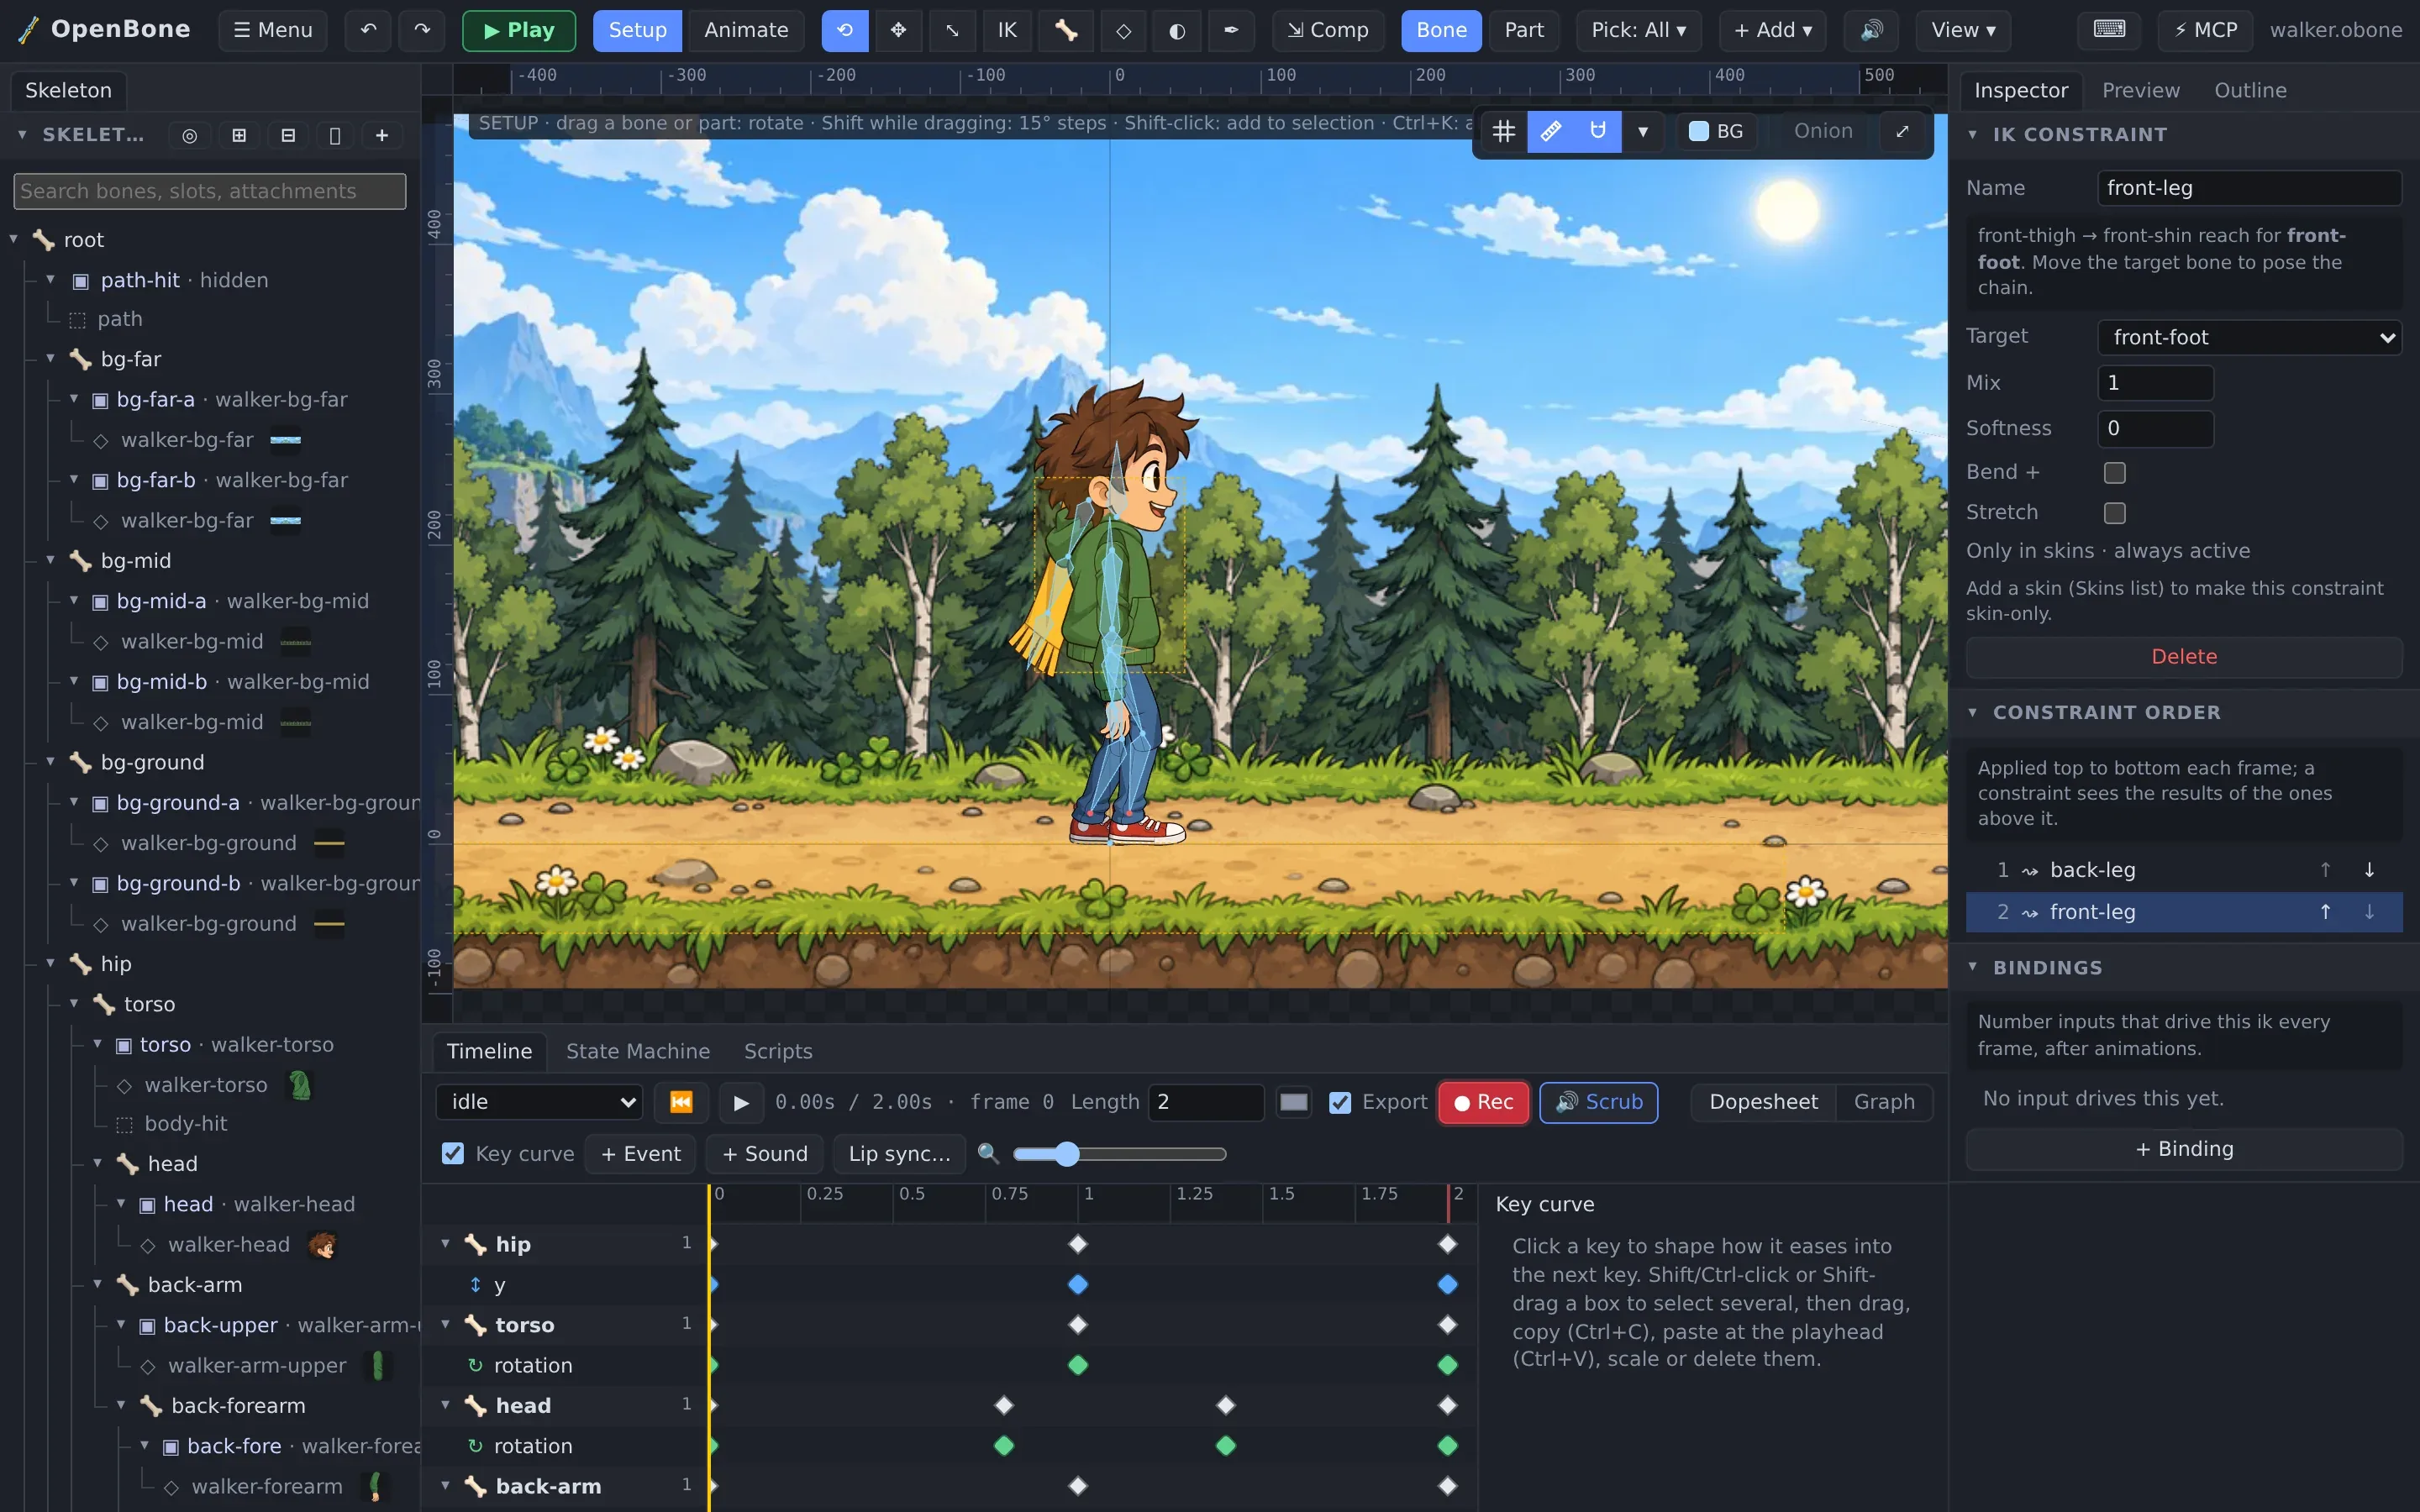
Transform, path and physics constraints work the same way; see Physics and constraints. The Pose tool (I) gives you IK-style posing without a constraint: drag a bone and its parents bend to follow.
The result
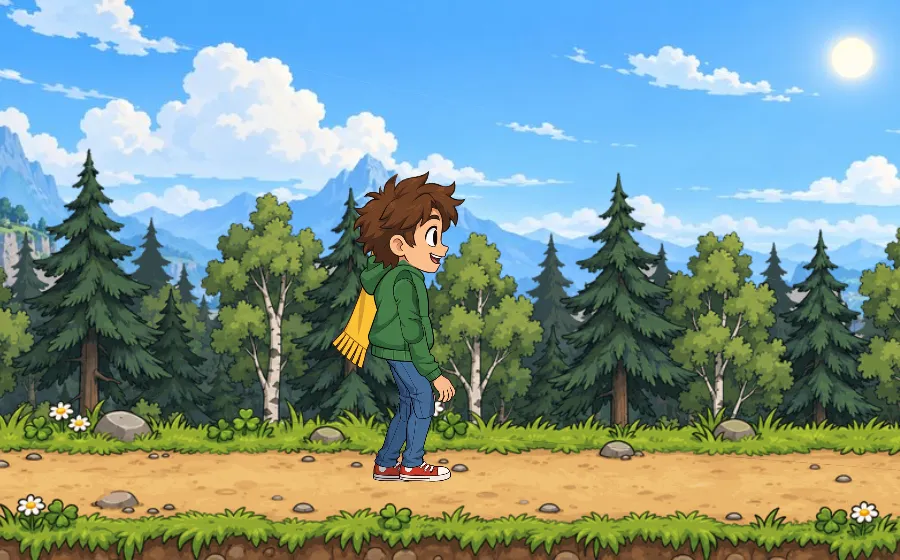
Section titled “The result”Here is the finished Walker running in the web player. Click the path to walk, click him to jump.
Next: animate it.
OpenBone is MIT licensed and made by UXCentury. The example art, voices and sounds are credited in the repository.